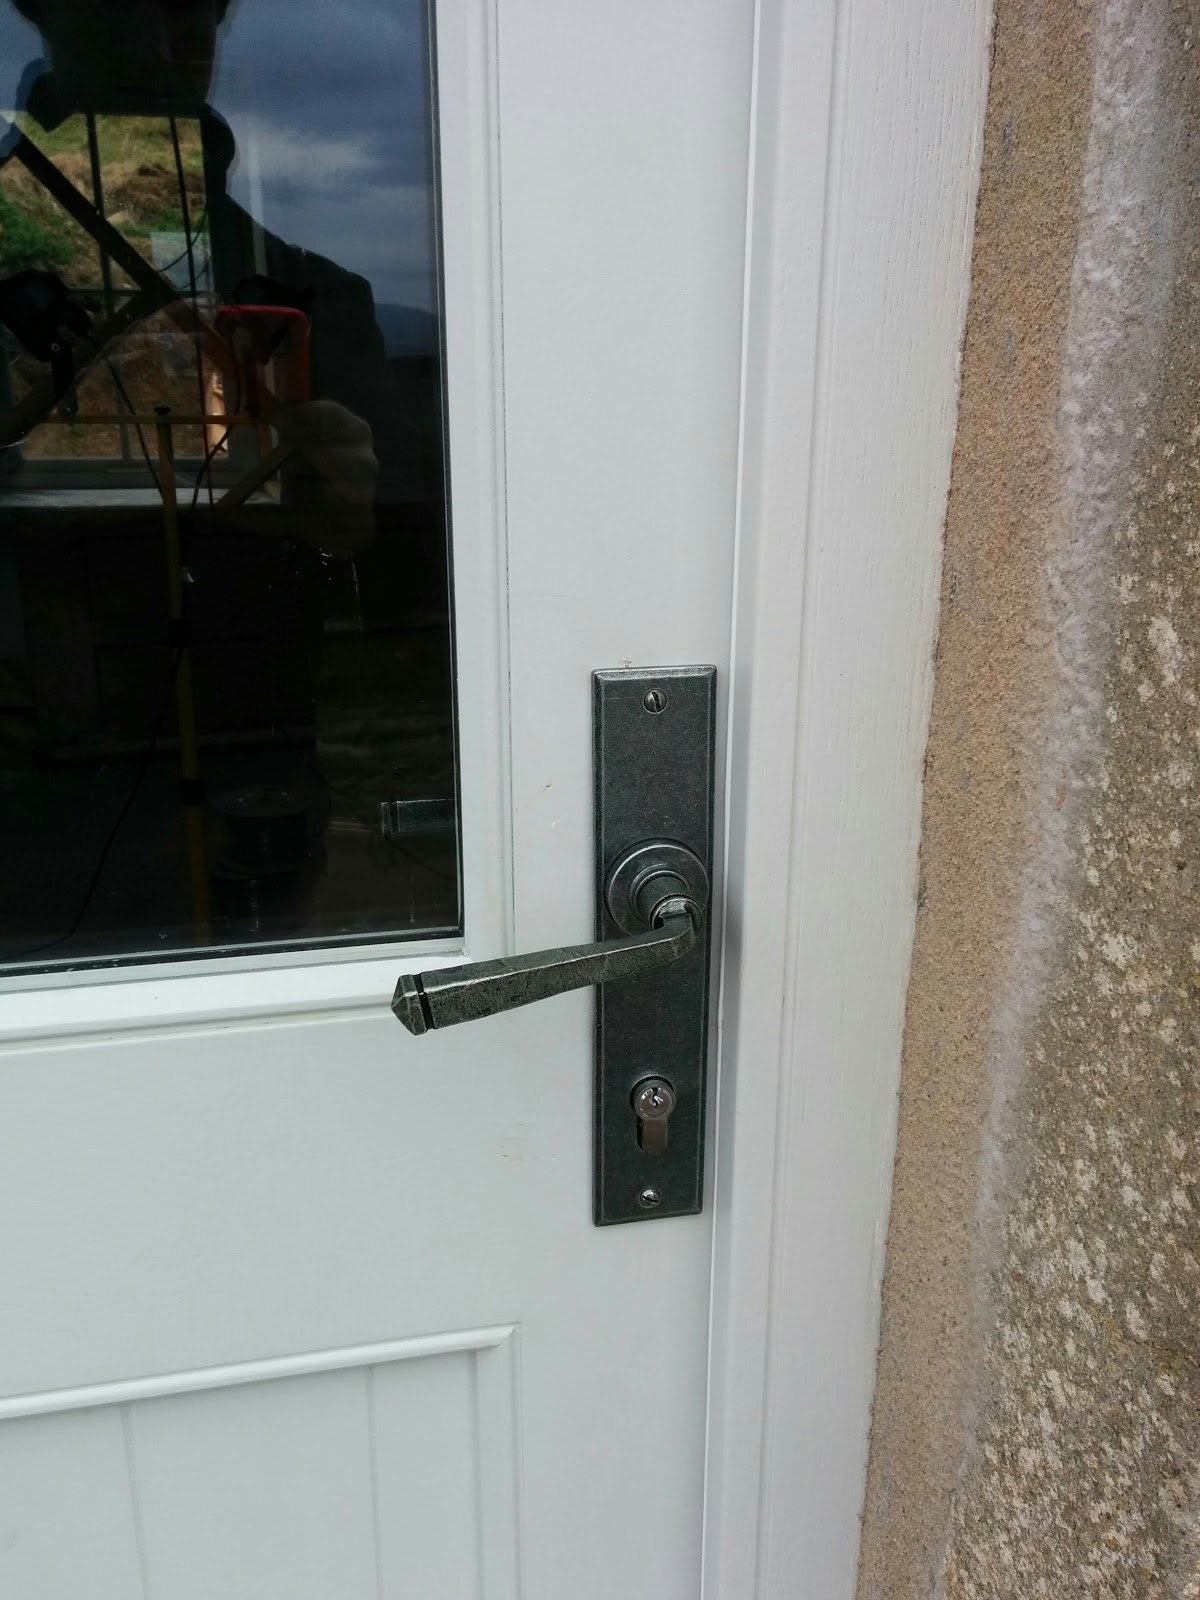
Simon was on hand and together Jaimin and he completed the fitting of all the window furniture. Good to use up supplies.
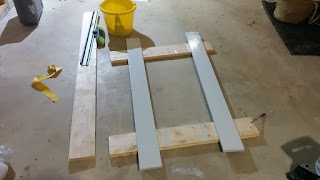
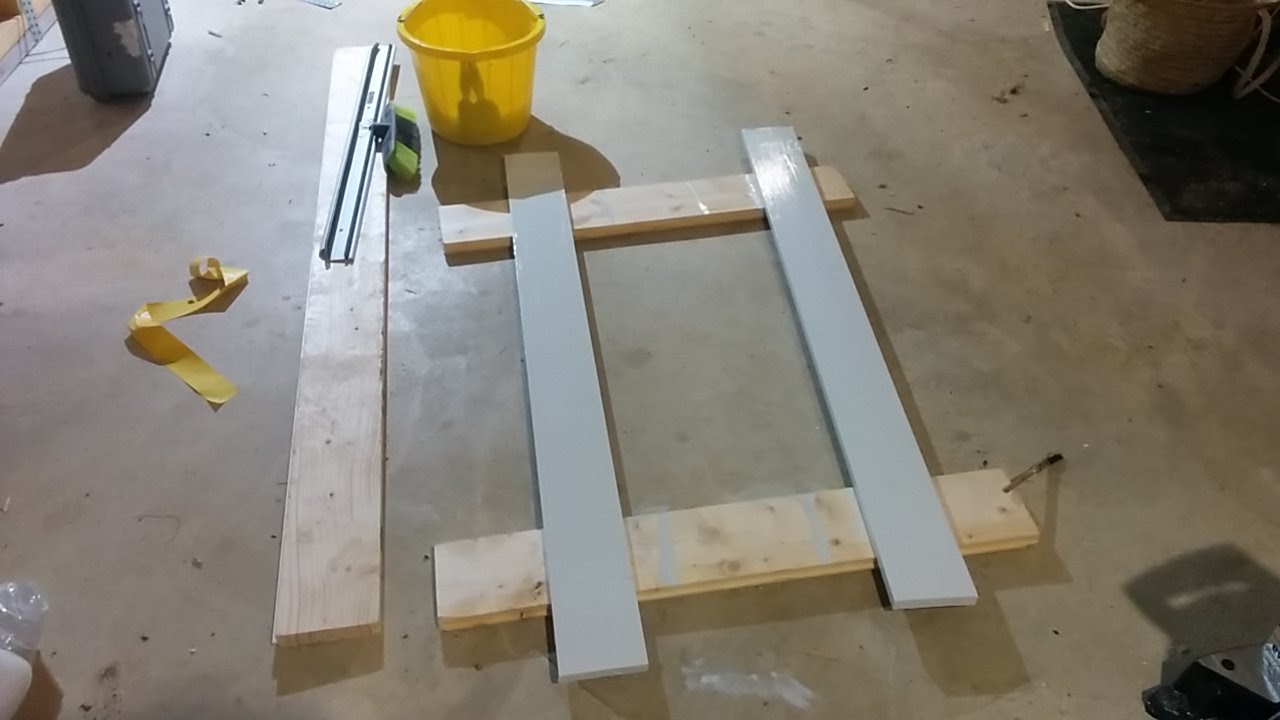
The next task was installing the missing bits of drip sill between the south windows where the mullion is. These were cut to size and glued in, then sealed with acrylic and wood filler, and the mullions primed and painted for protection. They'll be covered with redwood pine cover boards which have been primed and painted as well
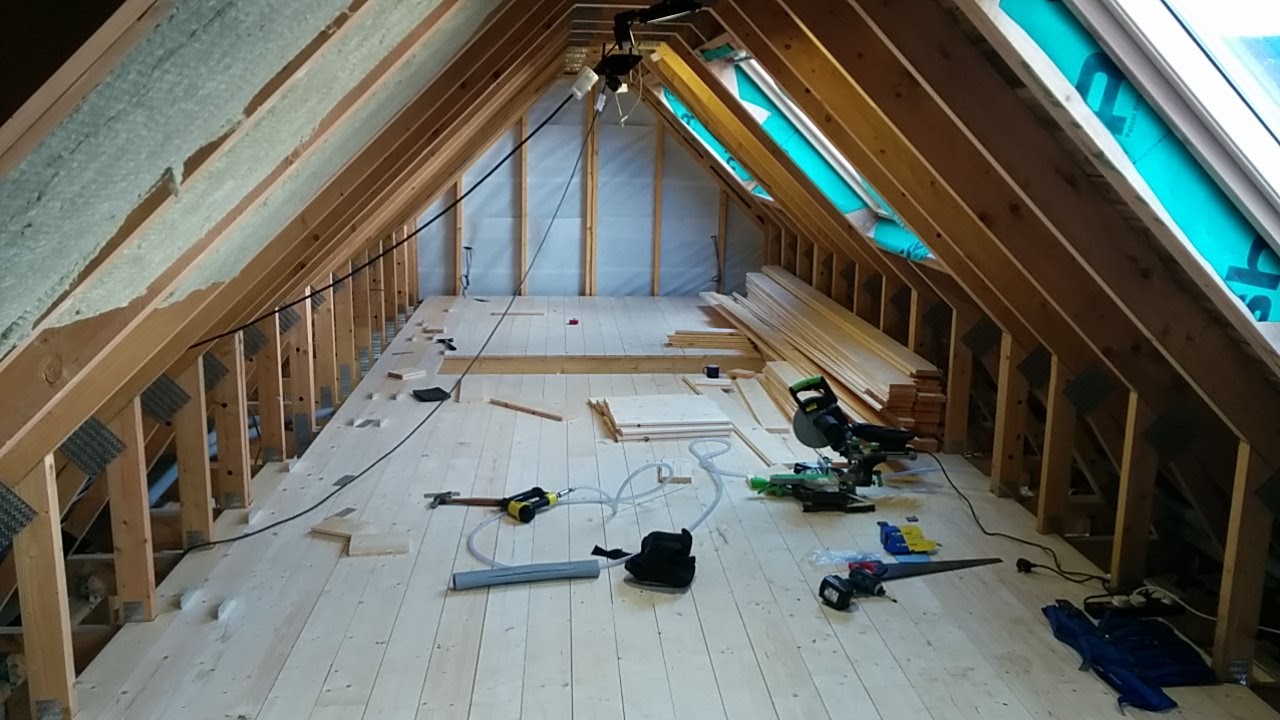
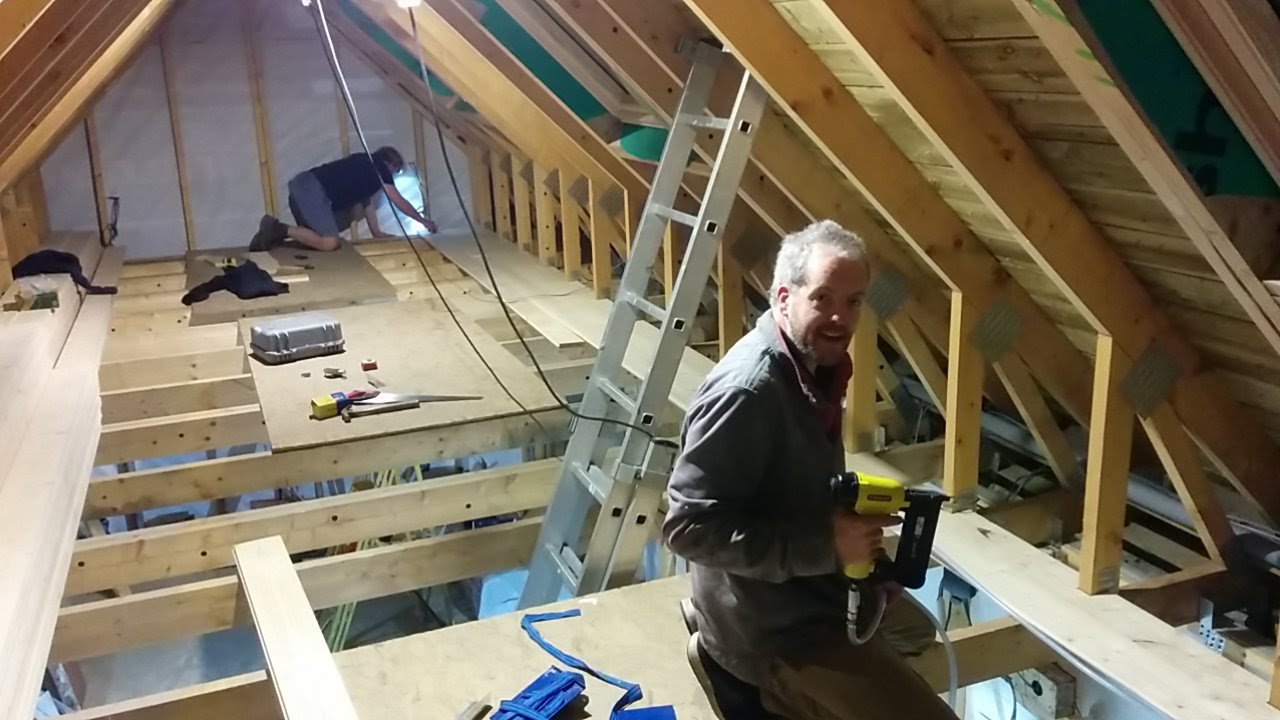
The rest of the upstairs floor was laid by James & Jaimin - apart from the really fiddly bits at the side. Here is the finished result, and a time lapse to complement it too!
The stairs.... for now
Notice the hatch - to allow us to post up long or wide items (like insulation boards!)
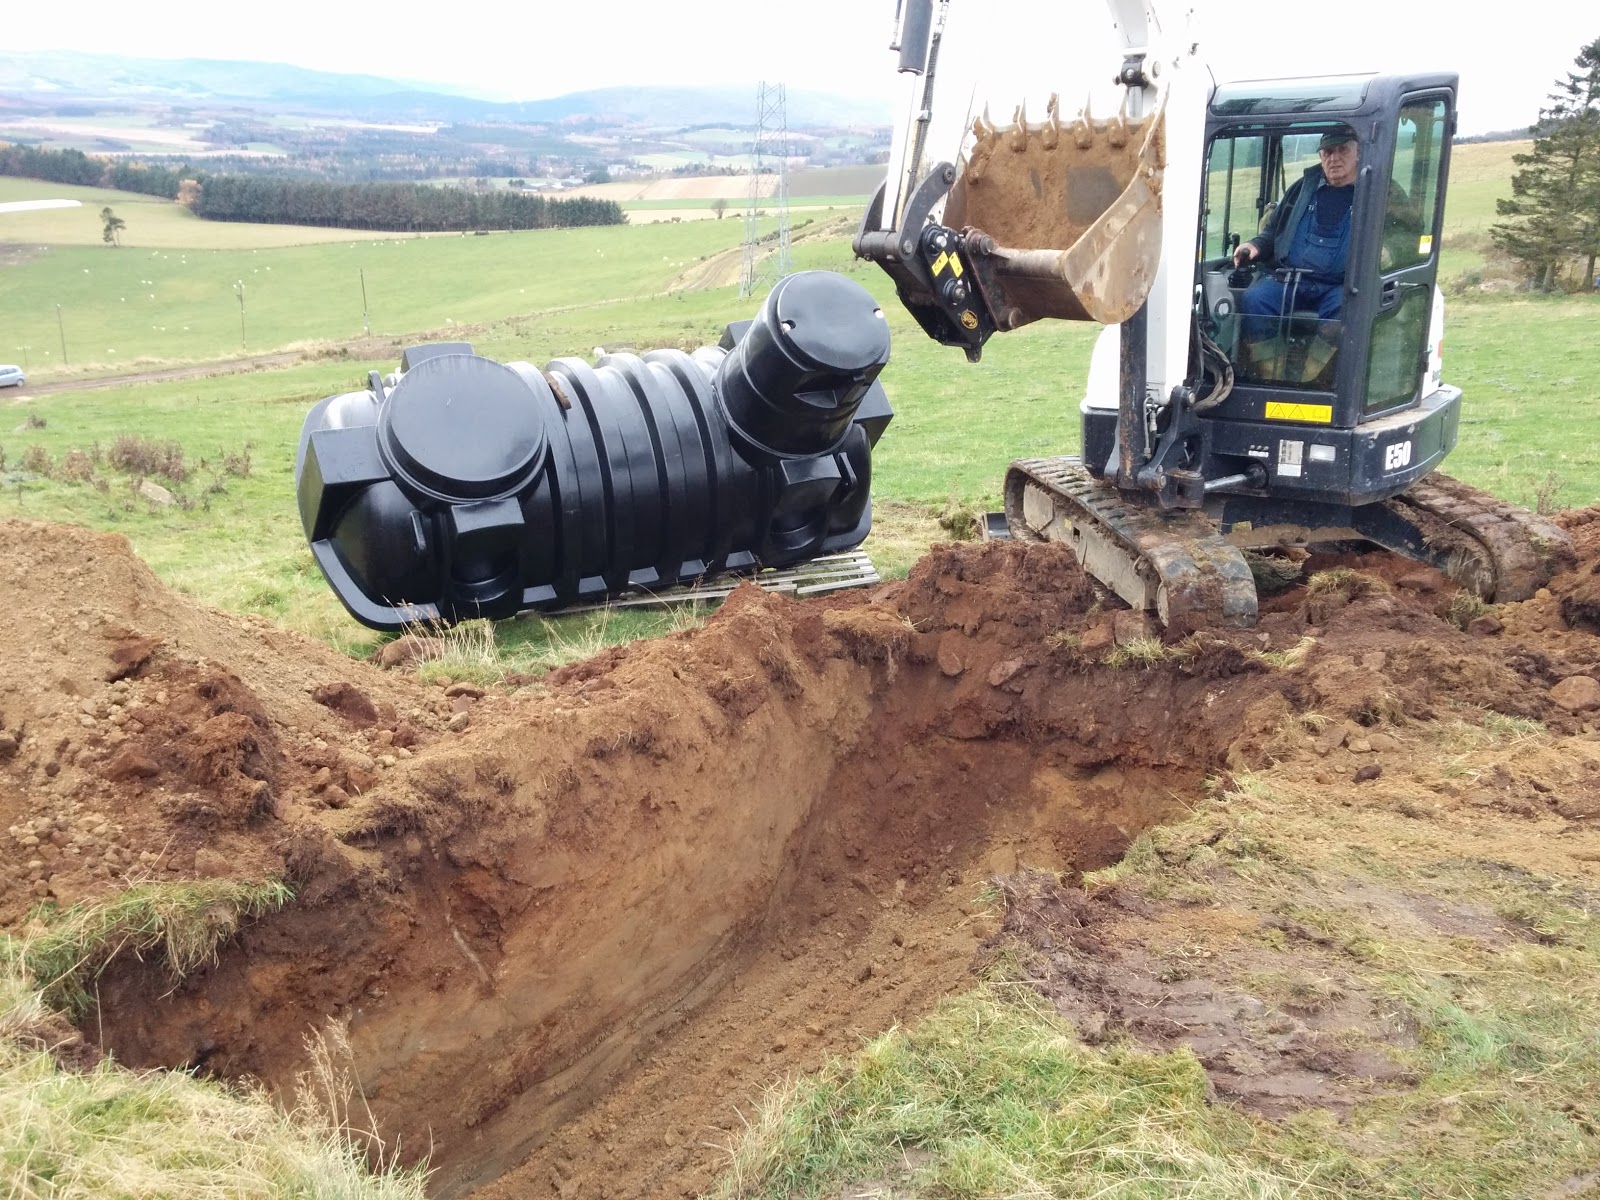
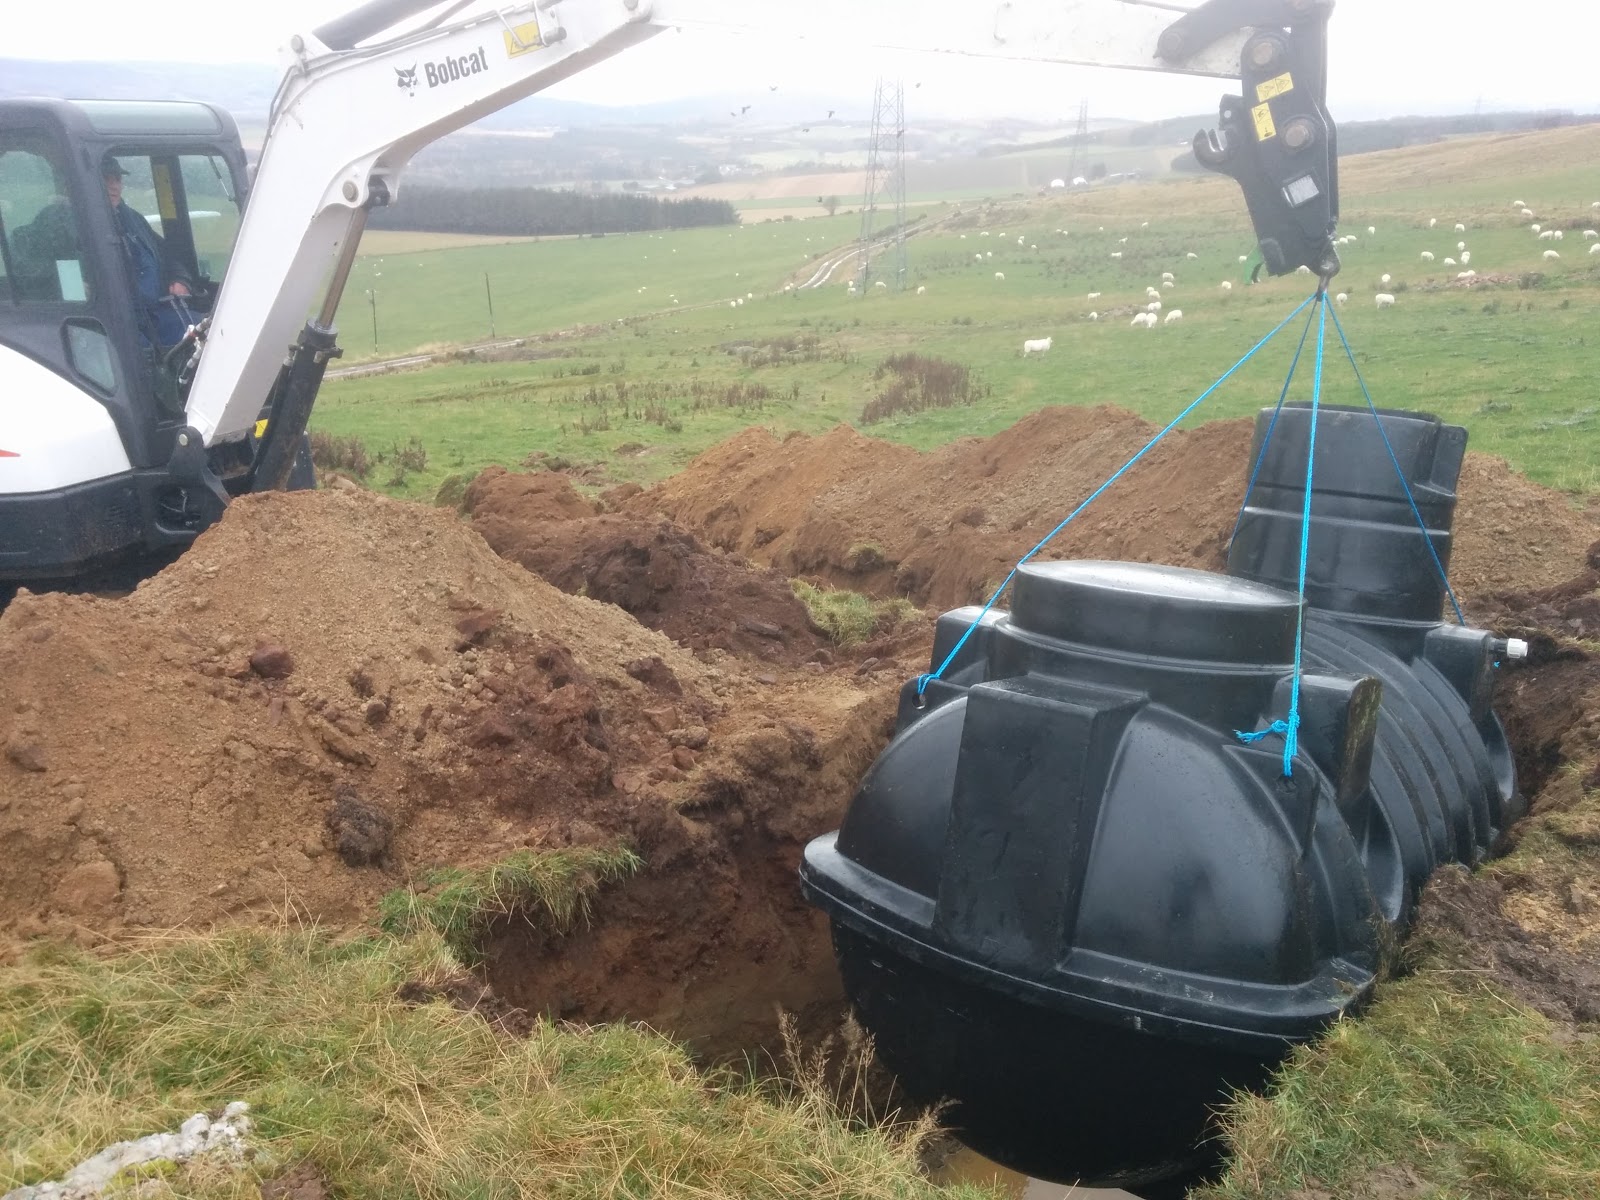
We will need decent pressure and a ready supply of water, so a new water tank complements the new septic tank. It's being placed roughly 10 vertical meters (1 bar in head) above the roof of the new house, making it a good 1.3 bar head for the cottage!!
Installing the tank was interesting and fun, but cold and muddy.
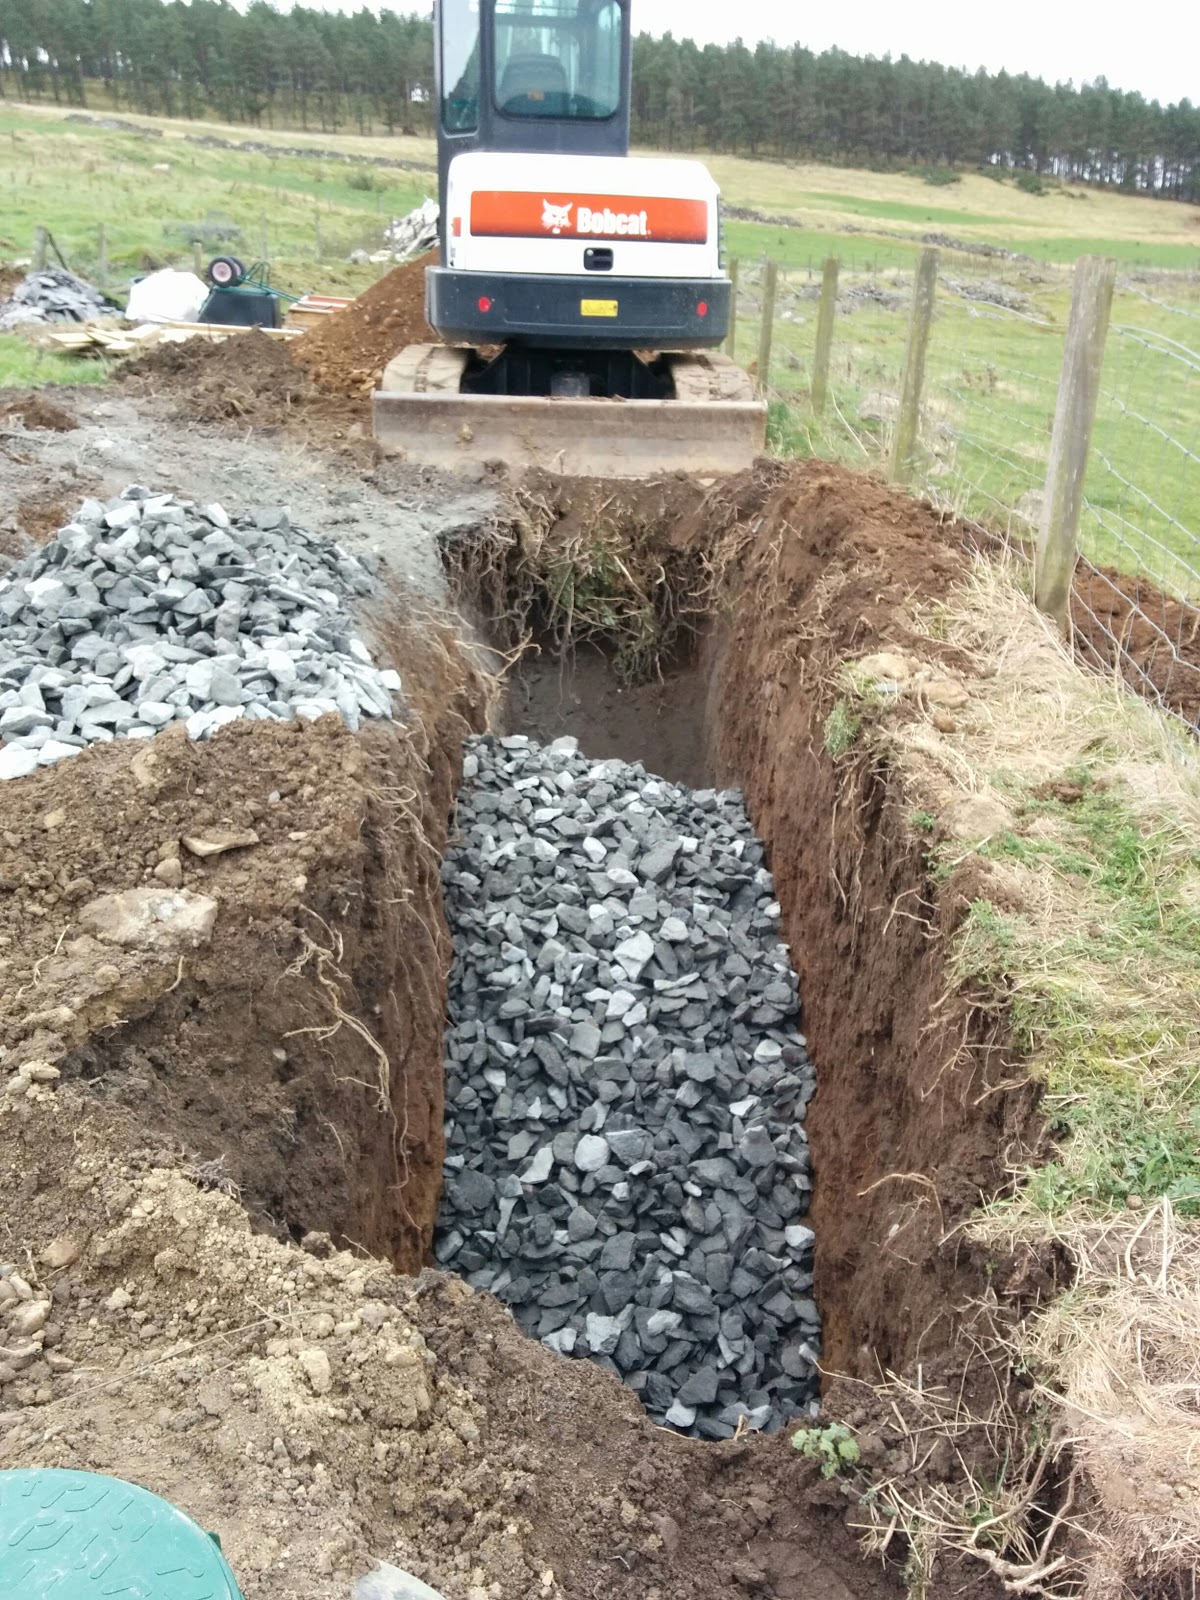
Ally the digger man prodded around the source and located our spring, and then the existing "pipe". This is an old traditional stone drain and runs down the field to the existing blue water tank (a small barrel sunk in to the ground). We believe that at some point the stone drain at the downstream (tank) end was damaged or blocked, so they dug it out and put in some unknown length of blue MDPE. The outlet from the tank/barrel is 3/4" black alkathene - i.e. old.
Ally dug out the source, and we decided to utilise the stone drain as the overflow/runoff, and install a brand new feed pipe to the cottage. To enable this he brought up a concrete collector ring.
First we got the source's seam exposed, which exposed a very interesting pink granite, fractured by the constant water flow. As he dug it and unblocked it, unsurprisingly it flowed better. To maintain this flow we put in place a concrete ring, and then backfilled over the seam with new, cleaner 40mm stone.
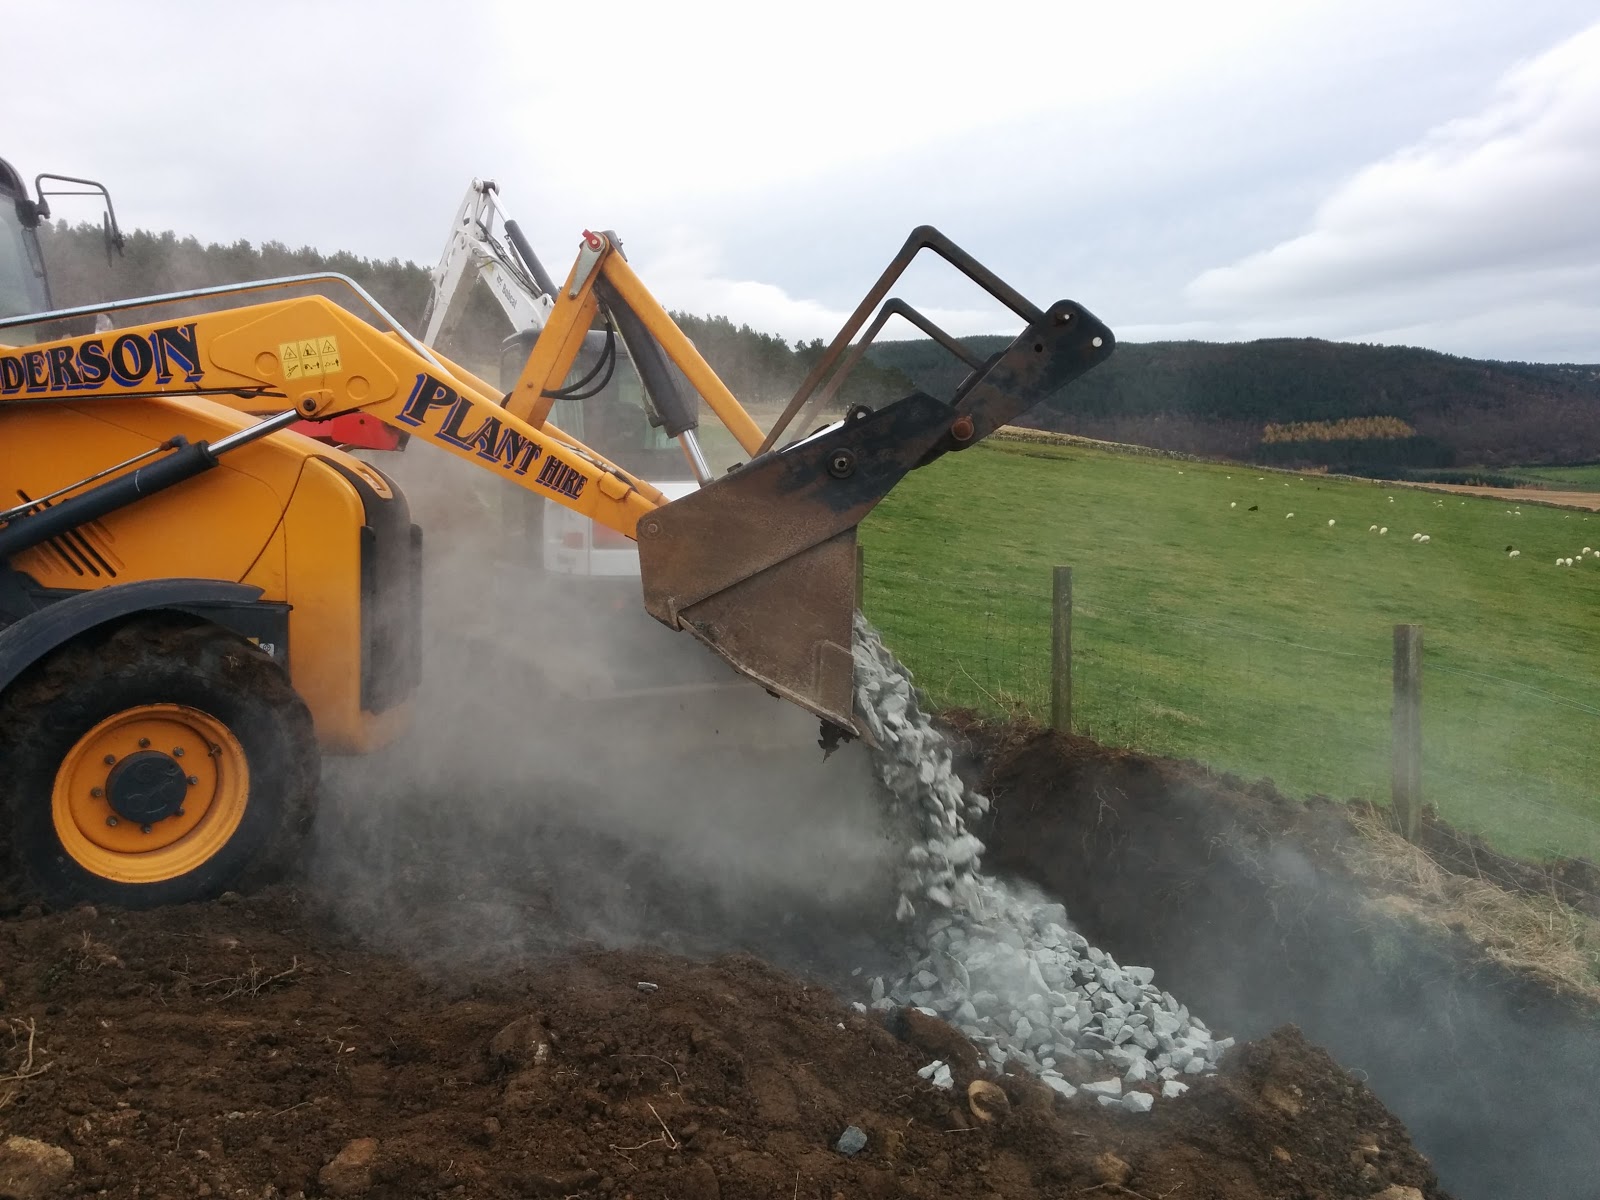
Stone being delivered - for the soakaway & source
Concrete ring in place. The overflow drain goes west (right and down in the photo) and the outlet to the new tank, south (you can just see the tank lying down on the right)
The ring from the drain's position
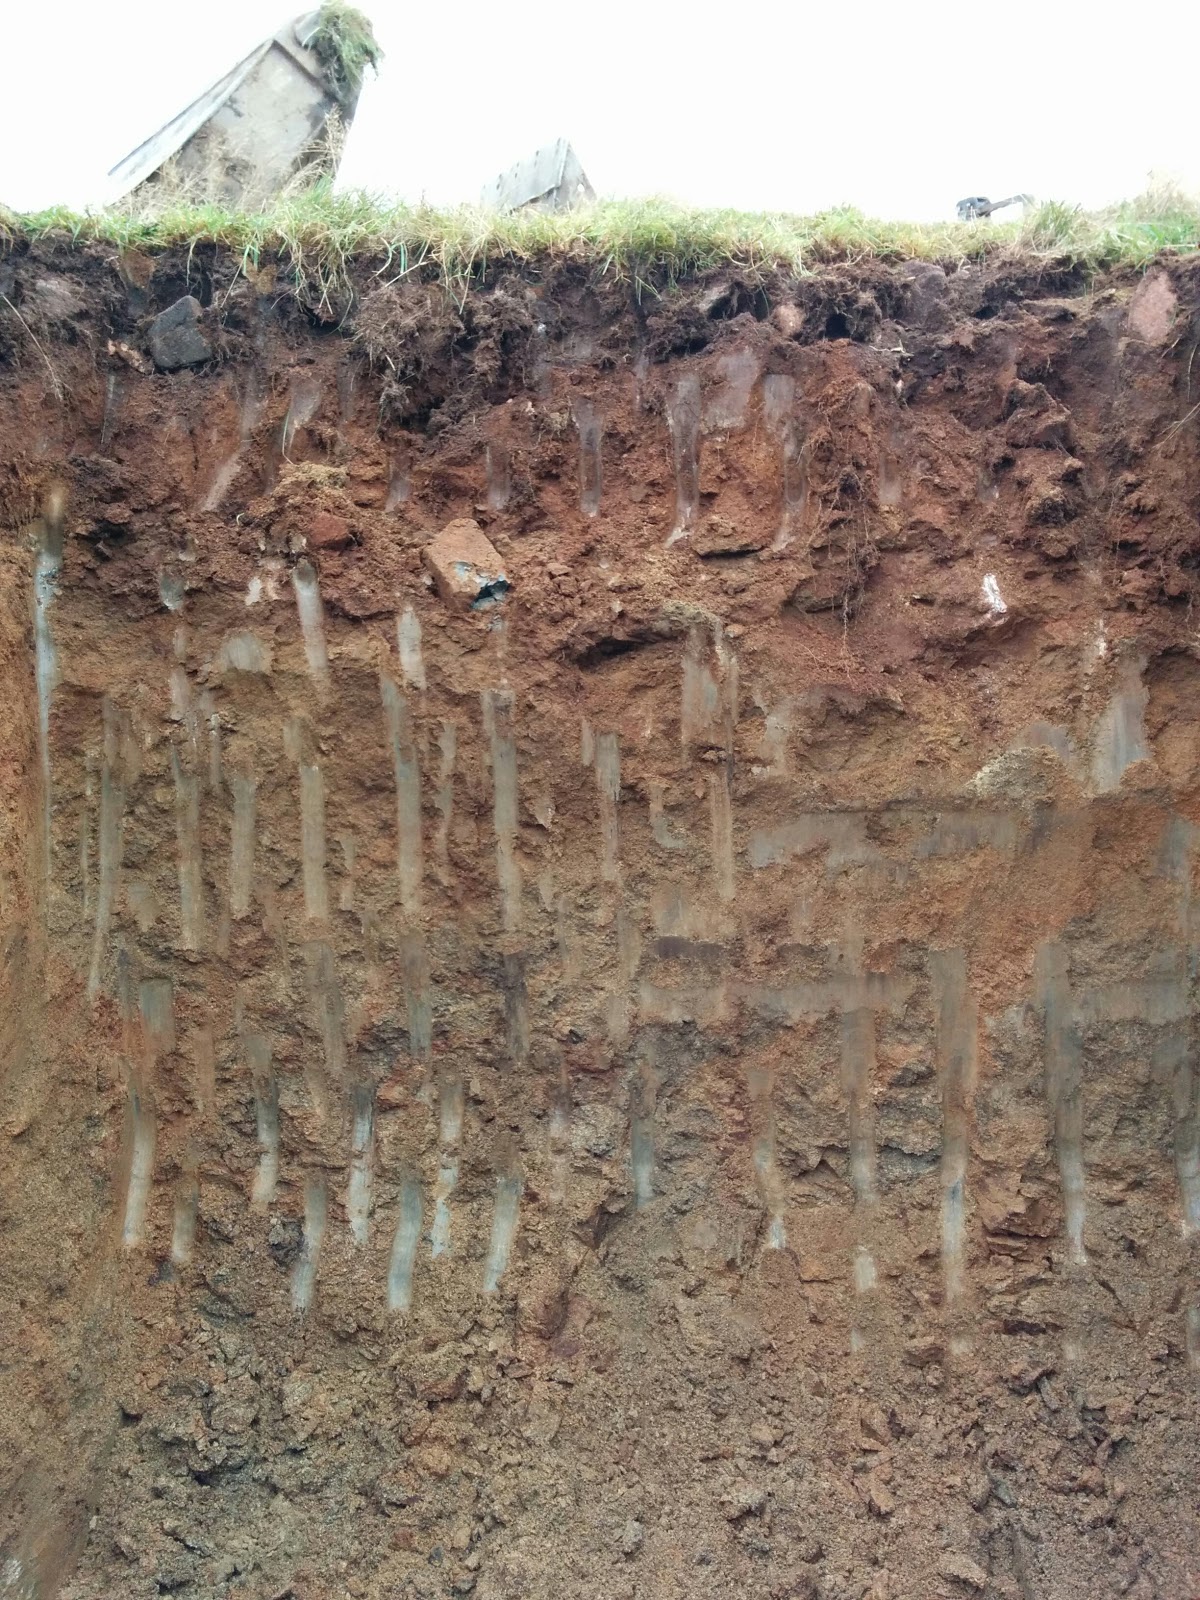
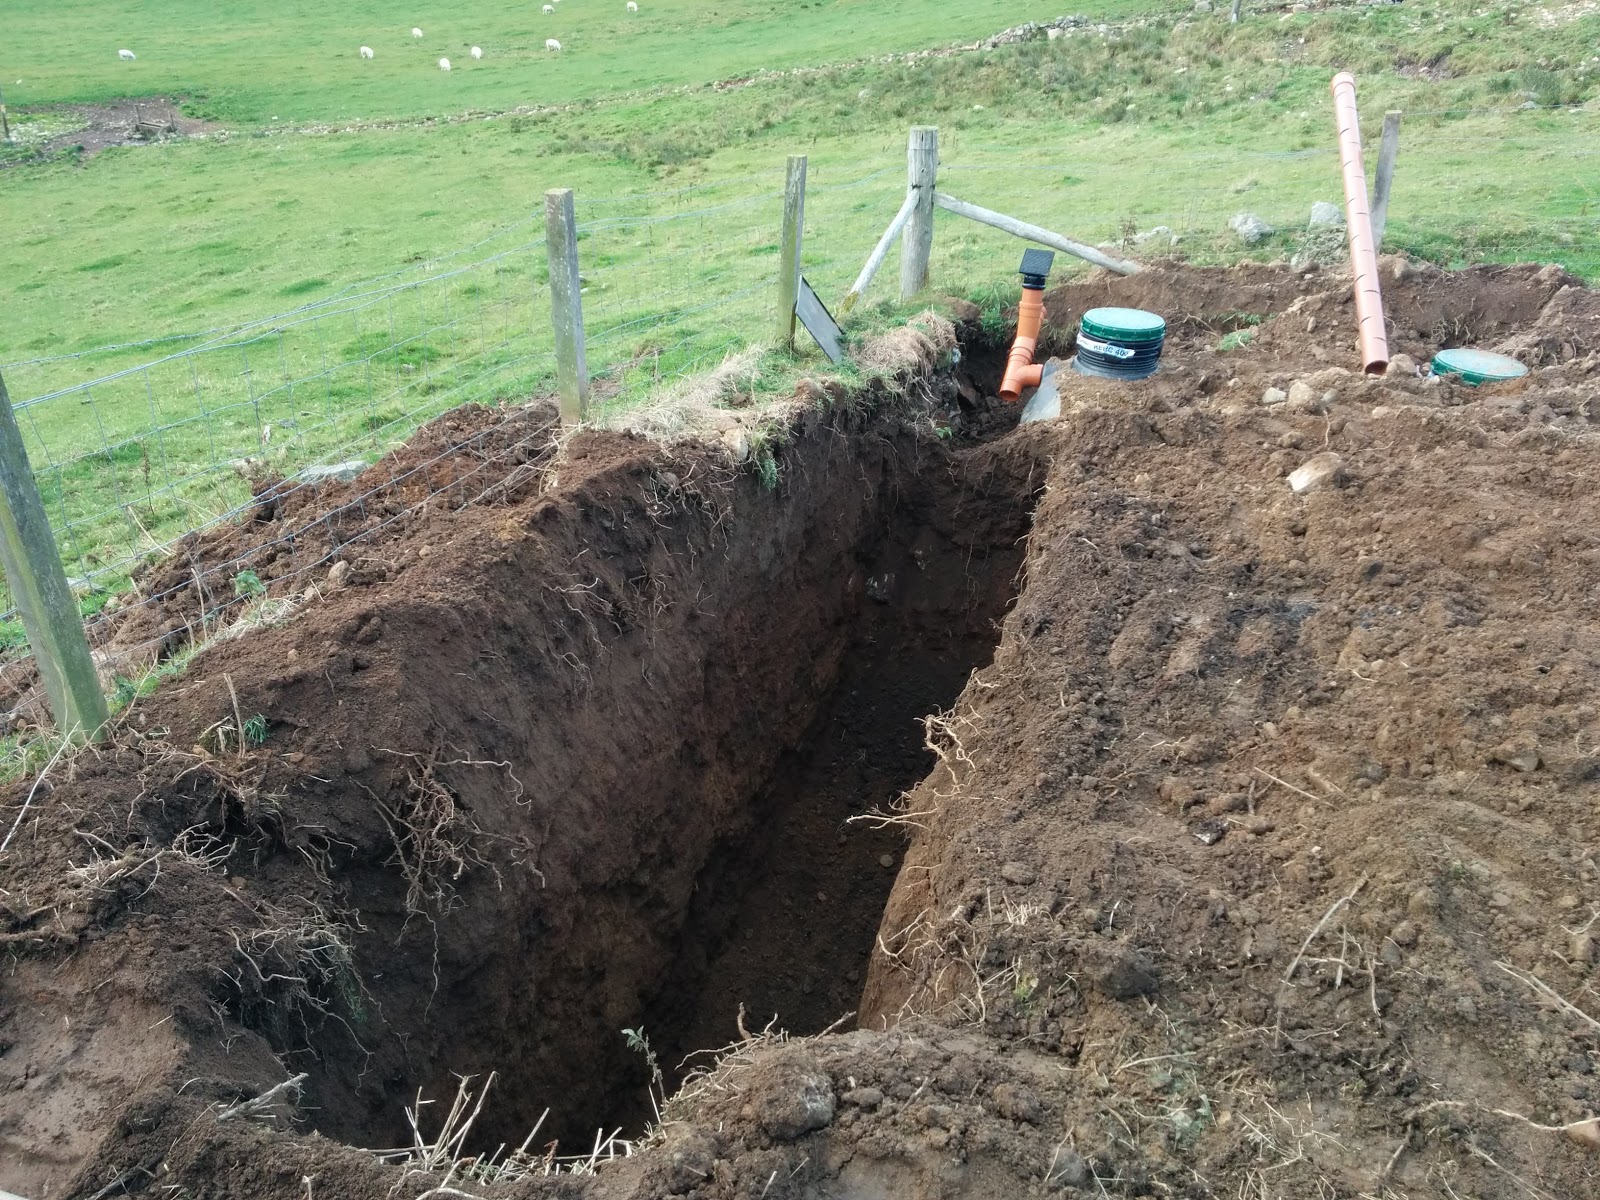
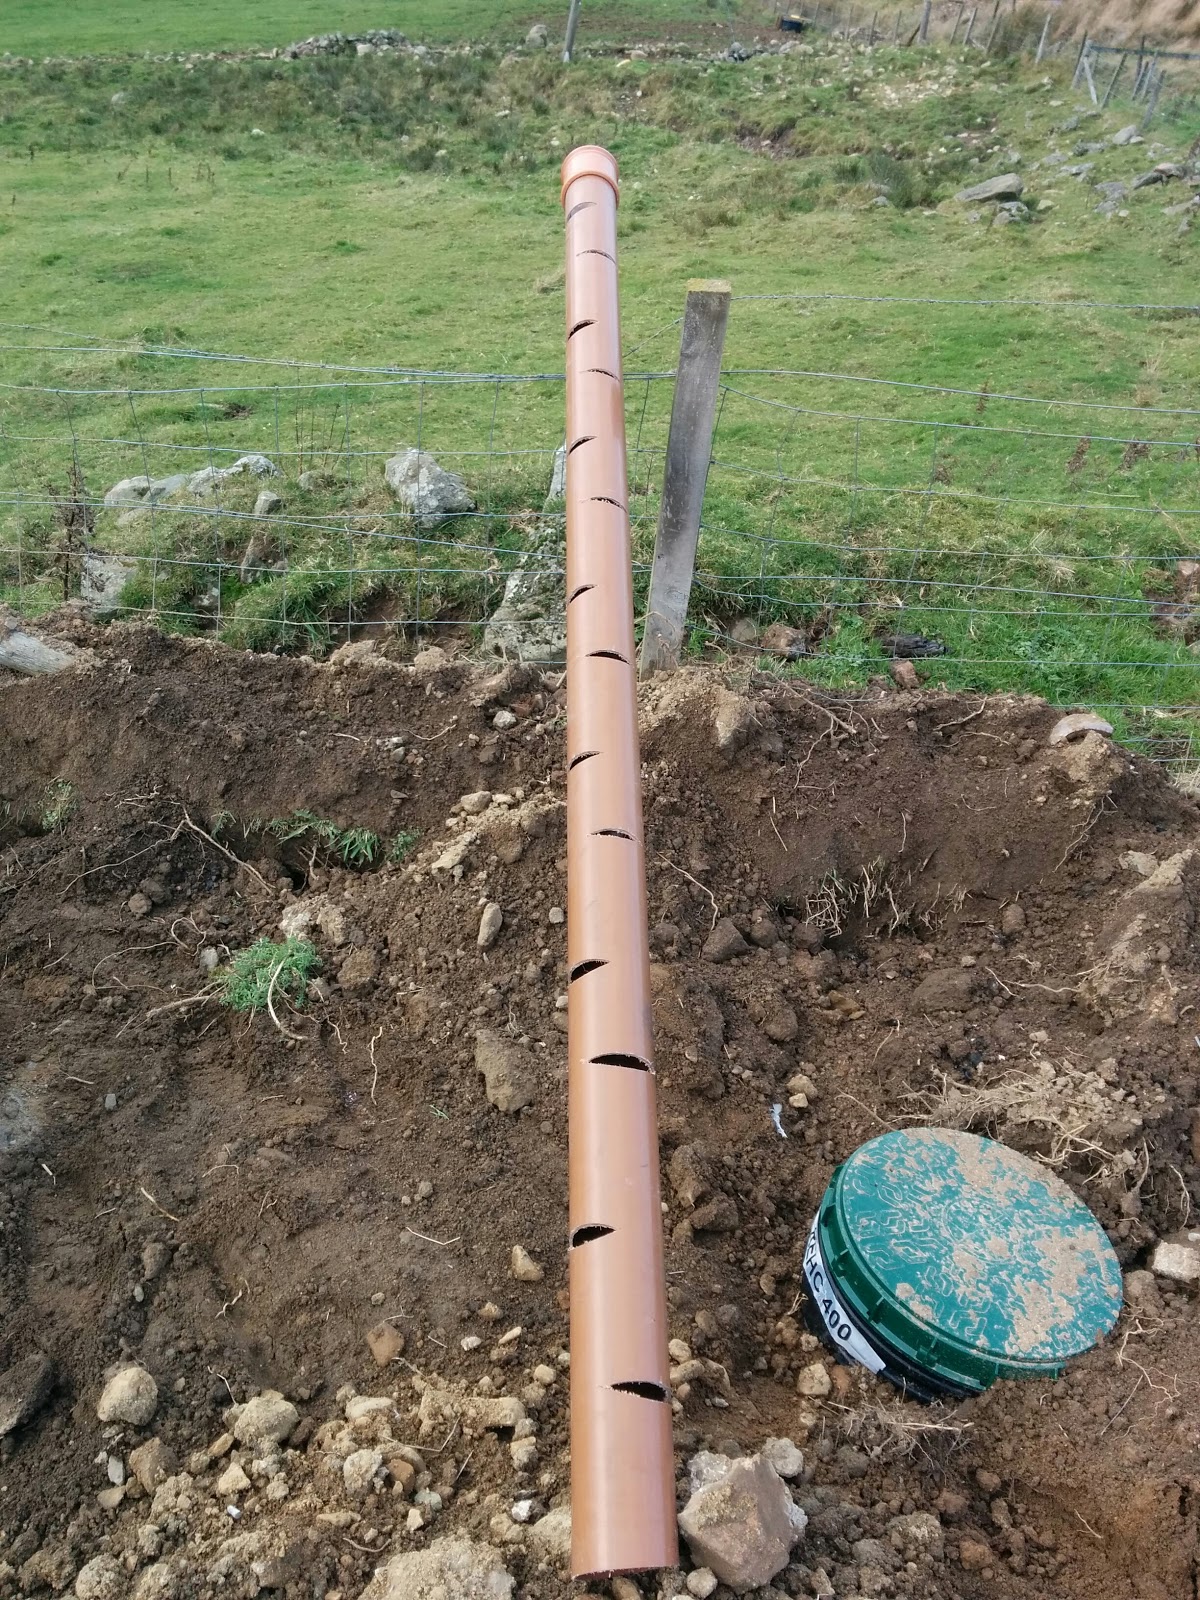
Once the ring was in place, we dug the hole for the tank and fitted it with an inlet and outlet connector. This involved drilling a hole in the tank (scary thing to do with a new expensive tank). Jaimin had to crawl in to the tank to do this, and fit the connectors. At the outlet position, a trench was dug for the outflow pipe which was then connected and run out to the track that leads down the hill. Also - the section through the soil was very interesting.
A great soil section - topsoil, weathered subsoil, weathered bedrock.
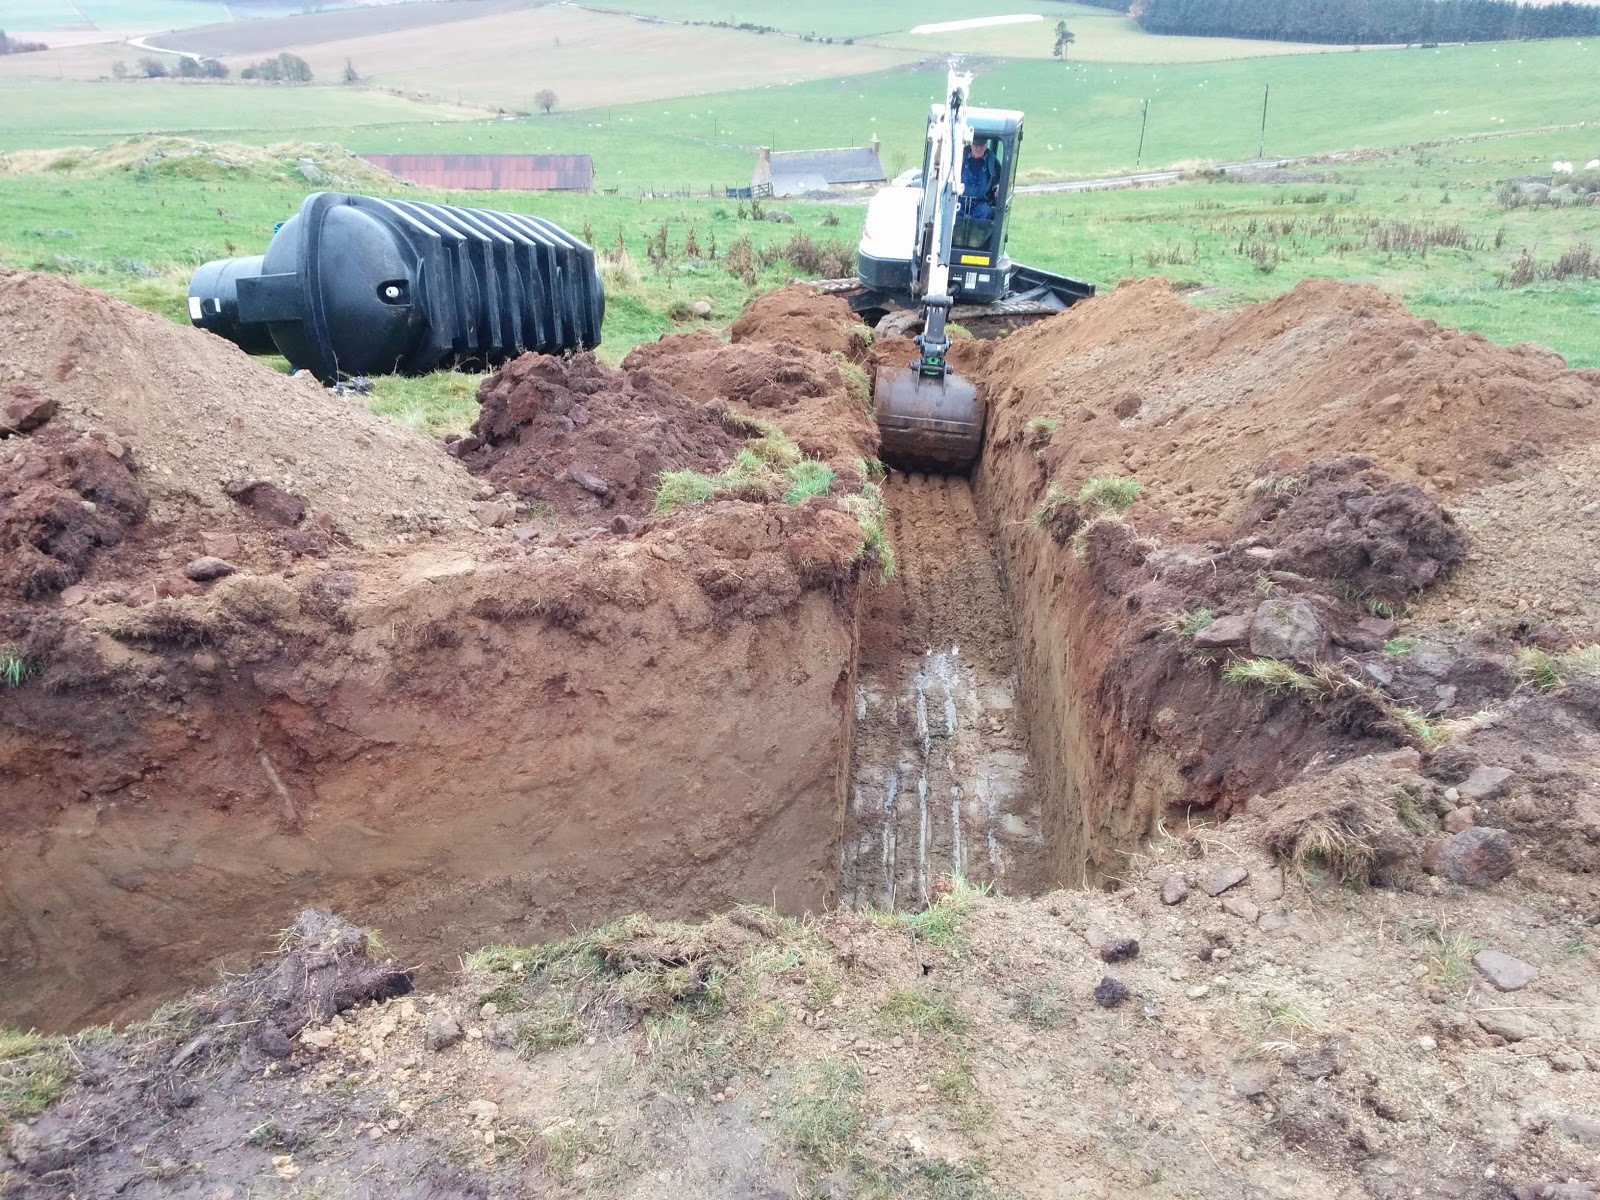
Big hole
Outflow pipe trench
Good height/head for pressure
After backfilling the tank hole and trench we turned our attention to tidying up the spring, and covering the collector ring with a pallet to save the sheep from harm. Notice how the water has filled up and collected. The cement ring collects it and has a hole in for the outflow to the tank. There is also an outflow to the drain, which is higher than the pipe outlet thus coming in to effect only when excess water needs to be taken away. You can see the drain in action in the video below:
Our own Highland spring
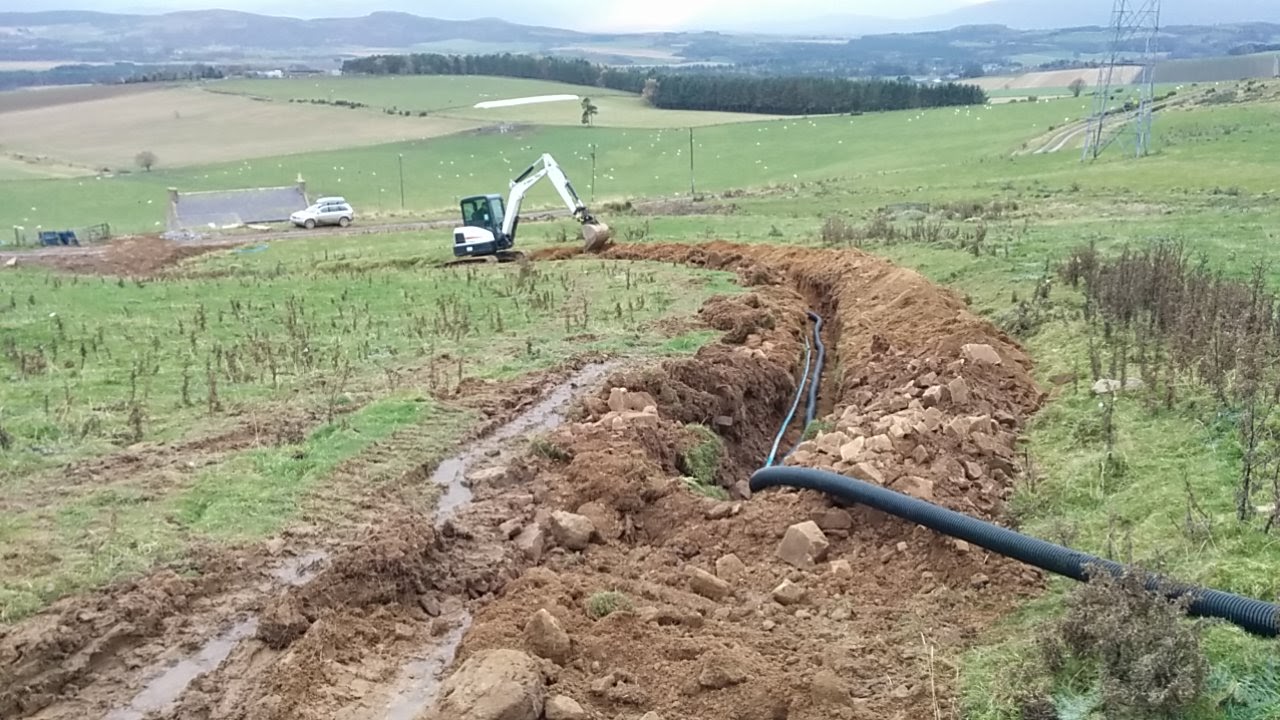
The next thing was to dig a trench down the middle of the "track" all the way tot he cottage to lay the rest of the new blue pipe:
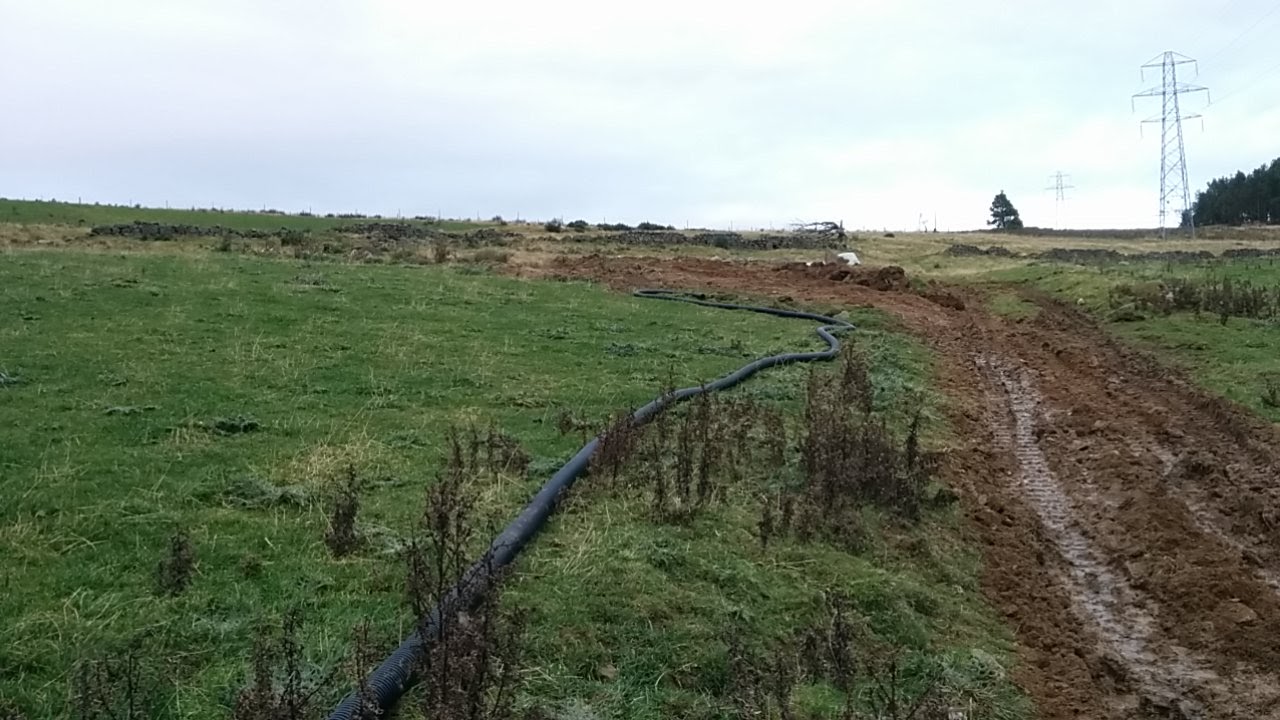
It soon became evident that the drain water was surfacing and would need dealing with, so we got hold of a 100m of 100mm perforated land drain coil and laid this alongside the blue pipe, and in to the ditch by the road.
With the blue and black pipes laid, the drain taking effect and the tank in place, we headed back up the hill backfilling, and then cut the final trench from the source to the tank, installing a stopcock upstream of the tank to enable us to stop the supply and empty the tank if required.
The water flows well, and although we've not yet connected it to the cottage supply fully, it's all ready to go...
Bumpy left this morning, but while he was here a lot happened. Here is the latest:
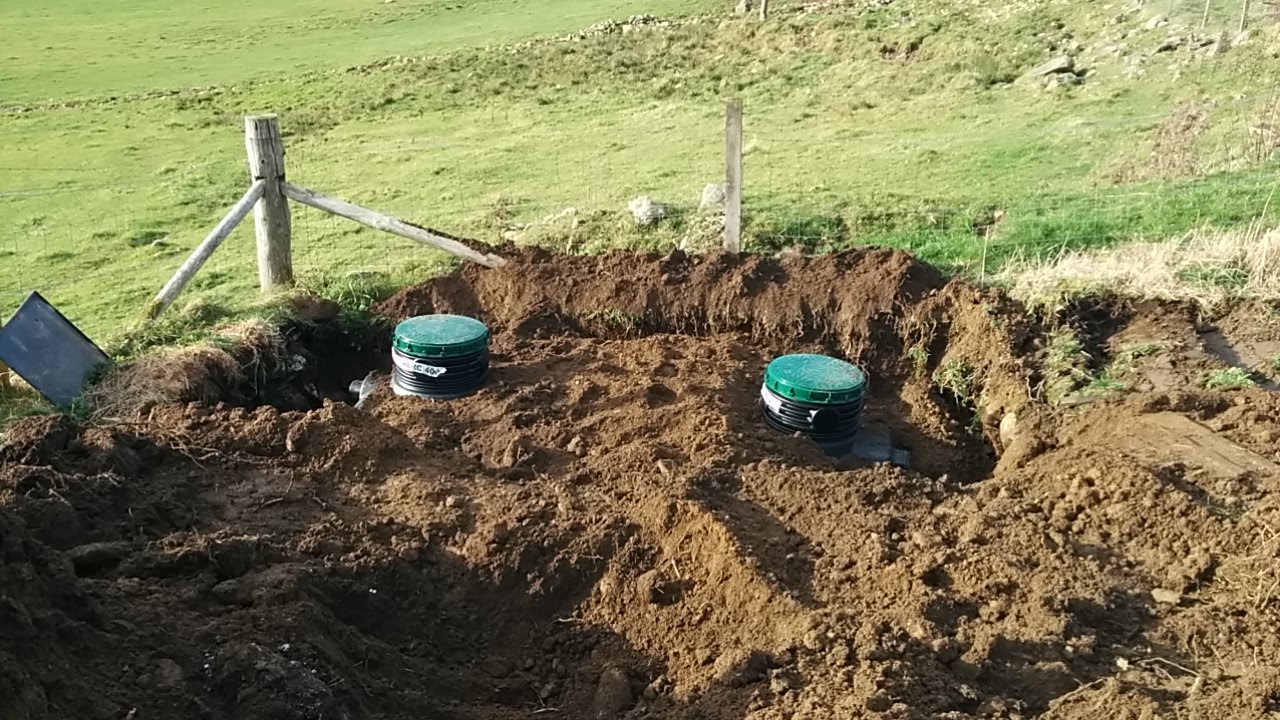
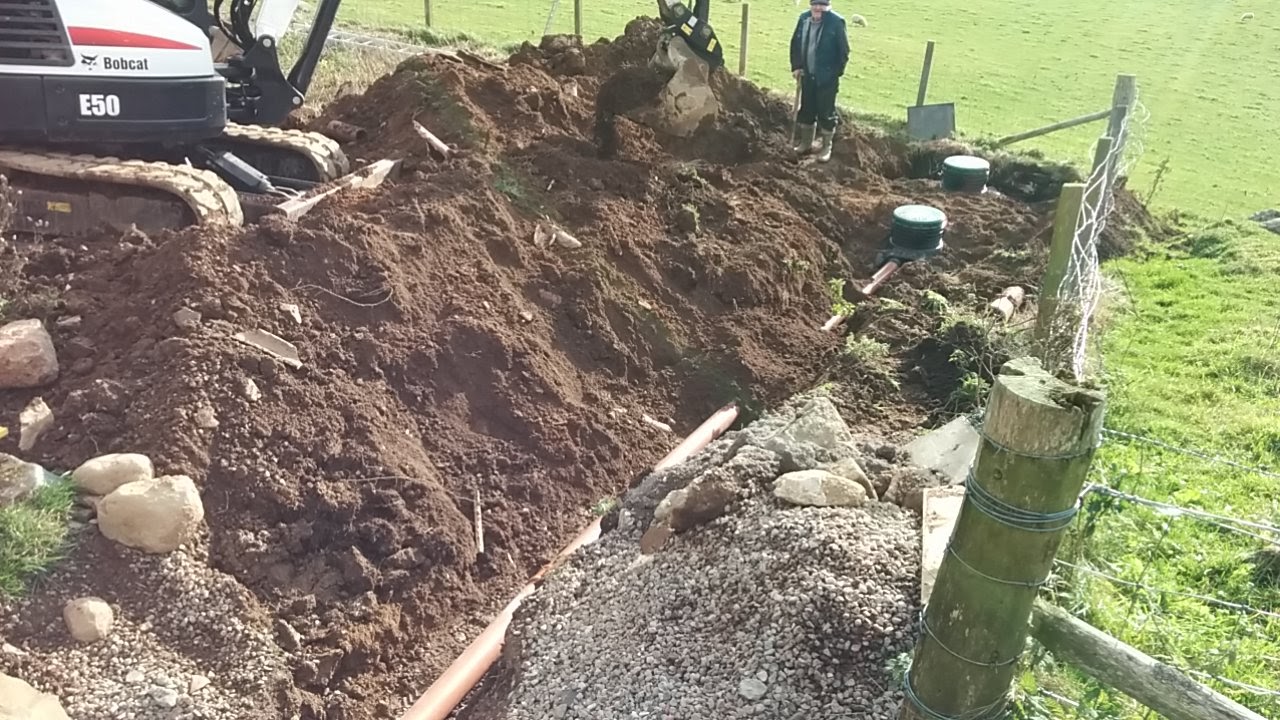
The rest of the clay pipe was removed and the old concrete "tank" was dug out and replaced with a shiny new septic tank with 2 x 200mm risers.
The Septic tank soakaway was dug and filled with 40mm stone. The rodding eye will give us options in case of a blocked perforated pipe in the soakaway.
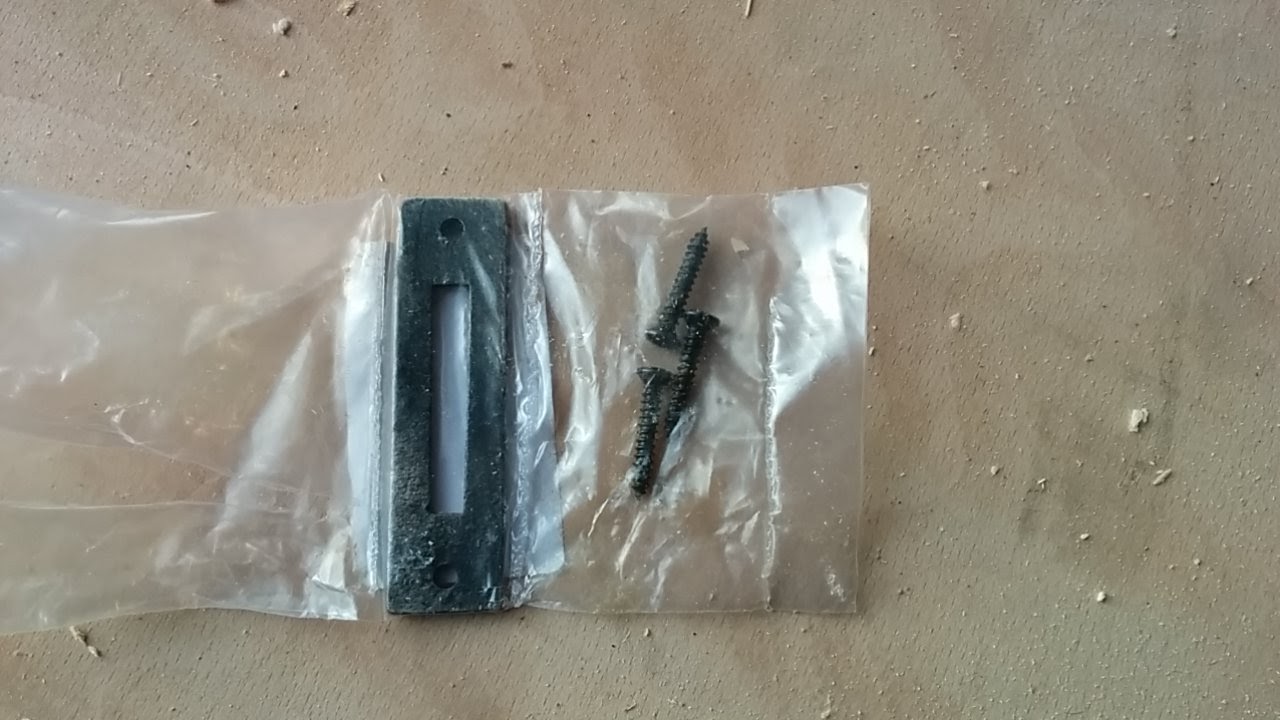
The first casement stay was installed on one of the windows.
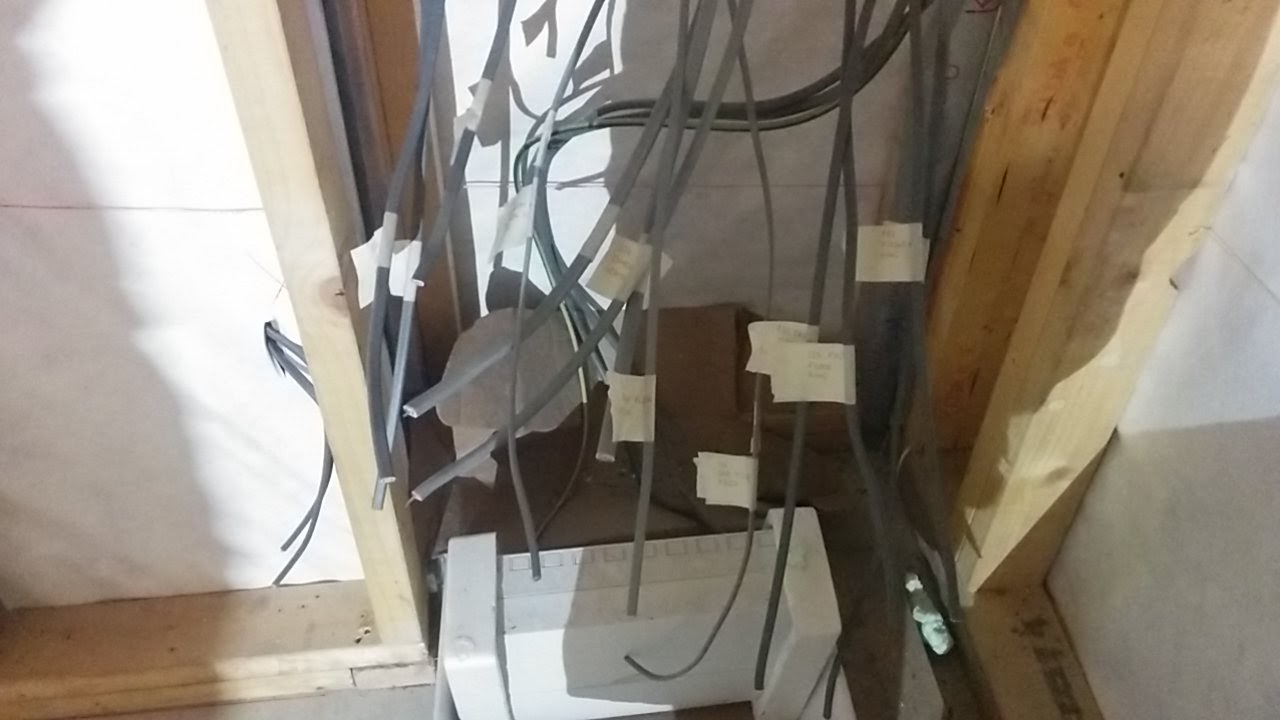
Plumbing first fix, using 22mm and 15mm Hep2O was installed and lagged. 22mm was for the mains hot and cold, and the 15mm for the central heating. Then the final first fix electrical wiring was completed and labelled.
Snow came, and finally the gable end frames were installed thanks to some help from Tollstension's Thomas, and Ben as well:
Then, some actual real life 28mm pine floor was installed on the first floor!
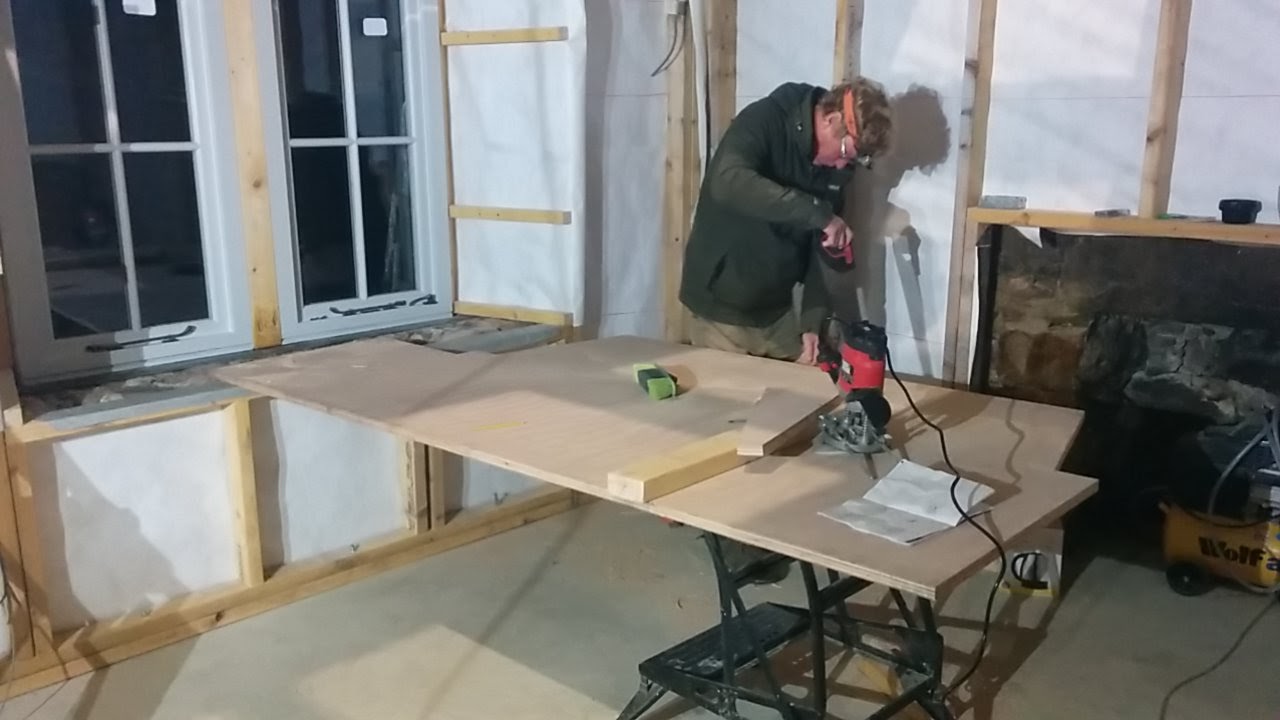
The night before Bumpy left, we cut a sill out of the 25mm ply using a circular saw, hand saw and router:
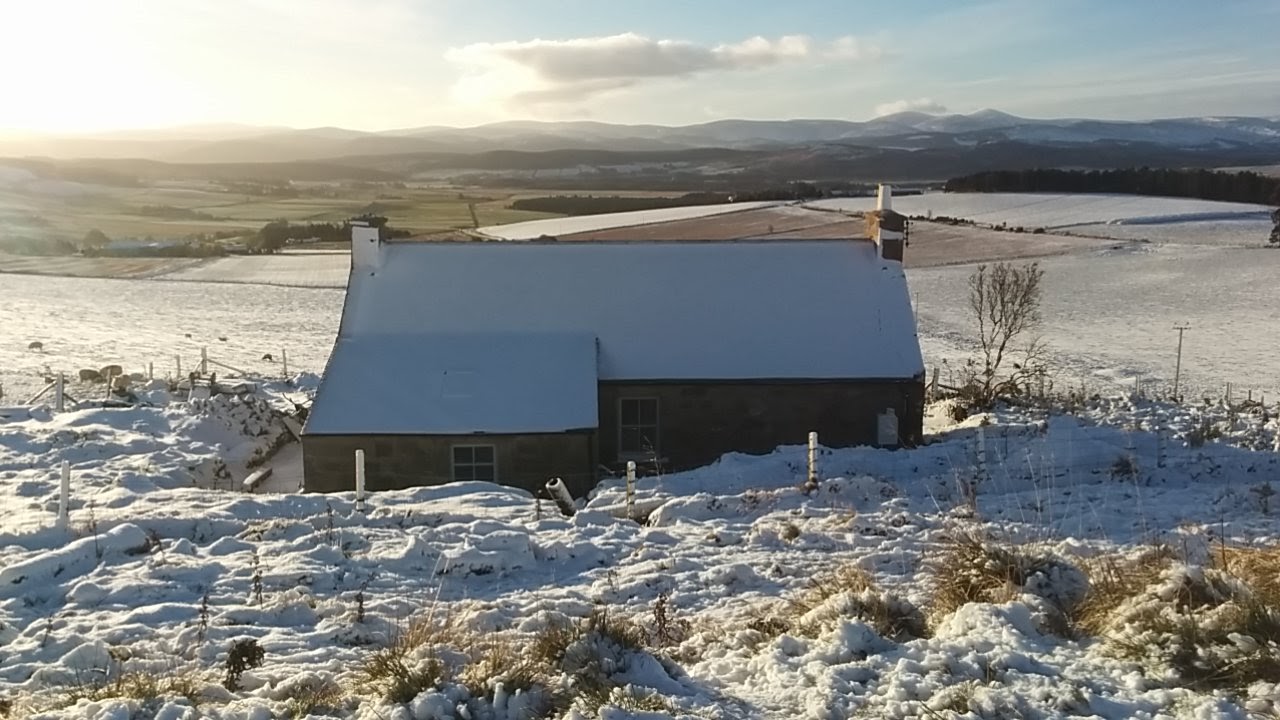
Finally - here's another great sunset over Lochnagar
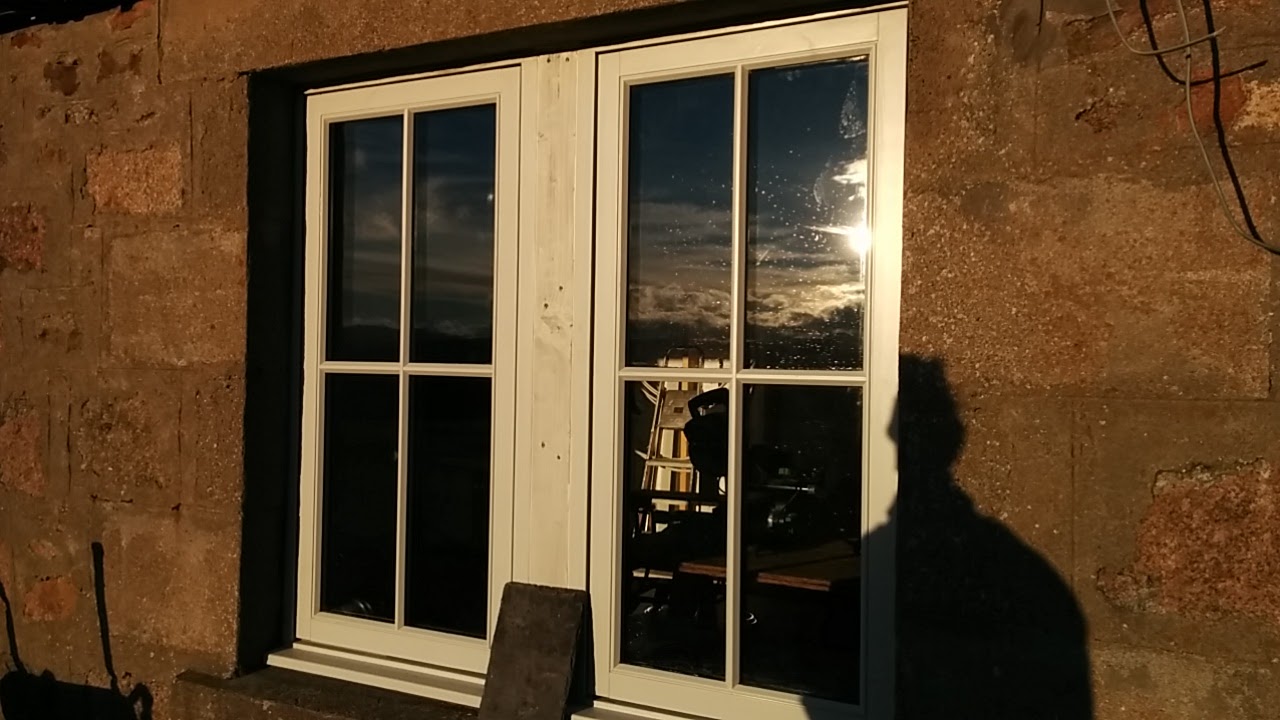
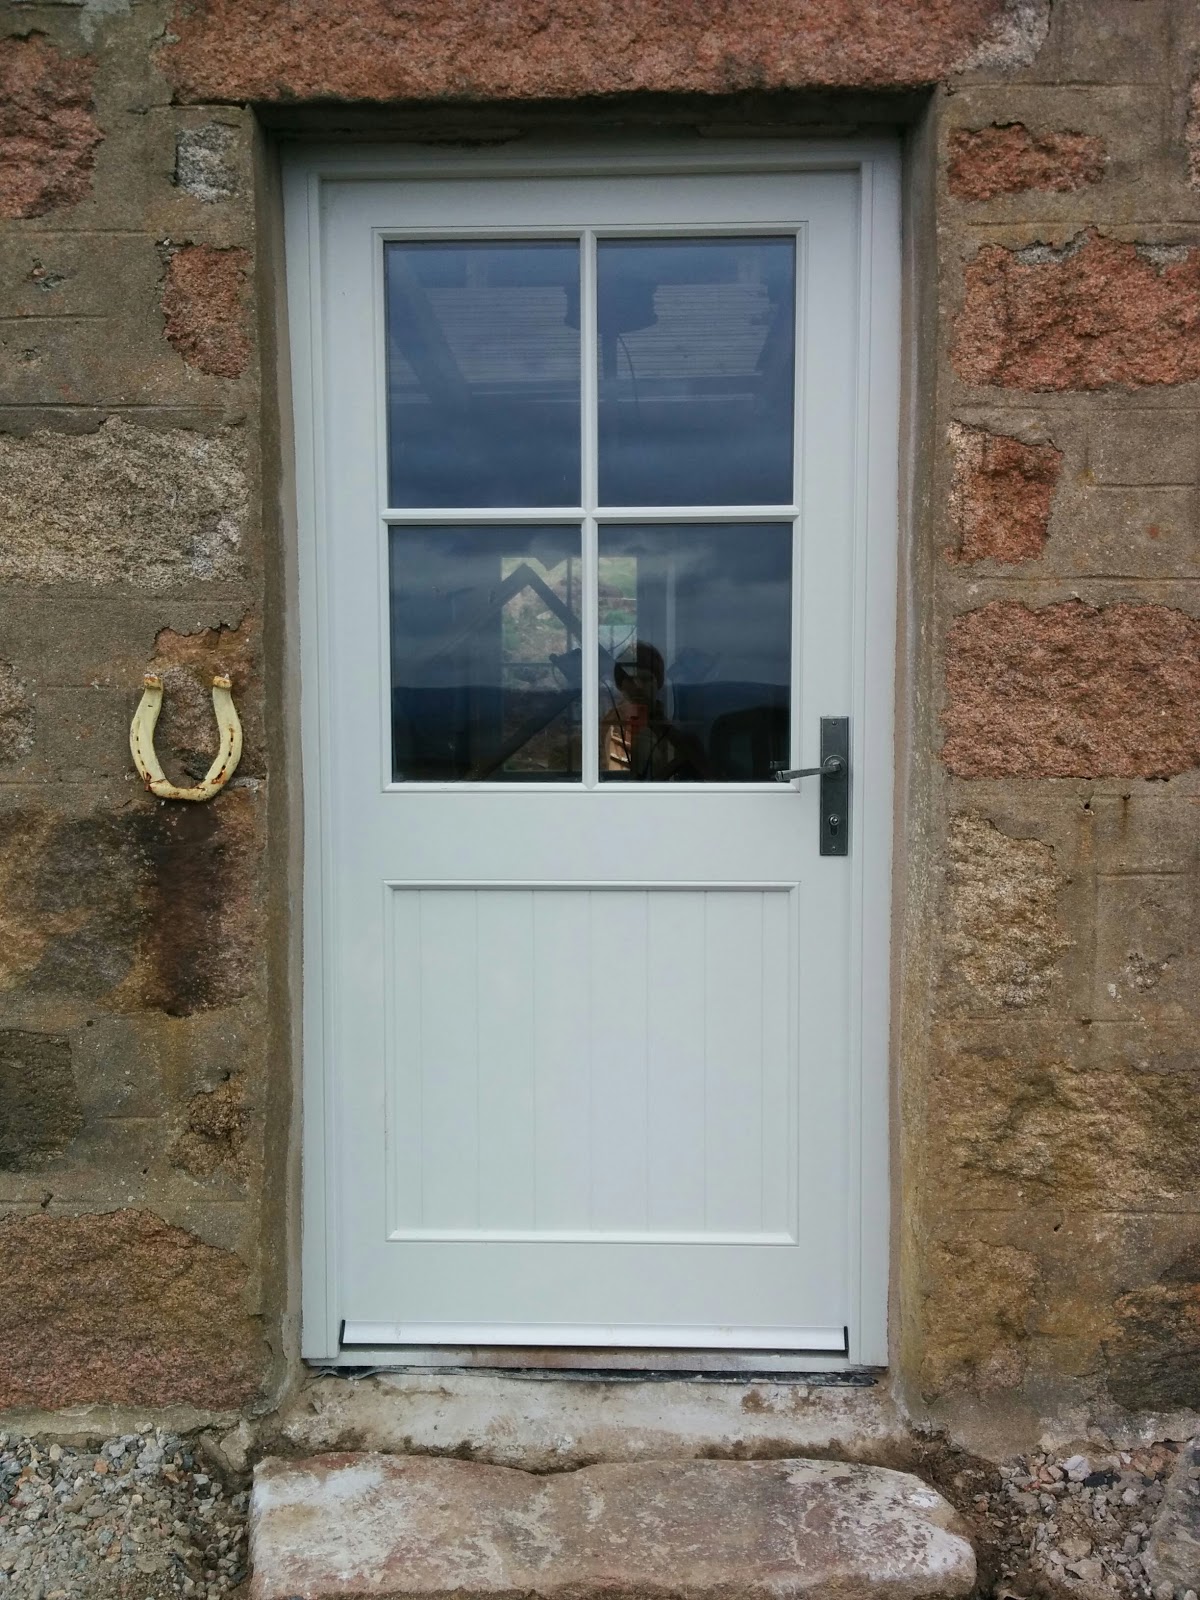
We have now fitted all the windows and the door, mortared all but 3 windows in place making them watertight, and even fitted the door handle, so we can now lock people out (or in?)! We have received all the window furniture as well but still need to install it.
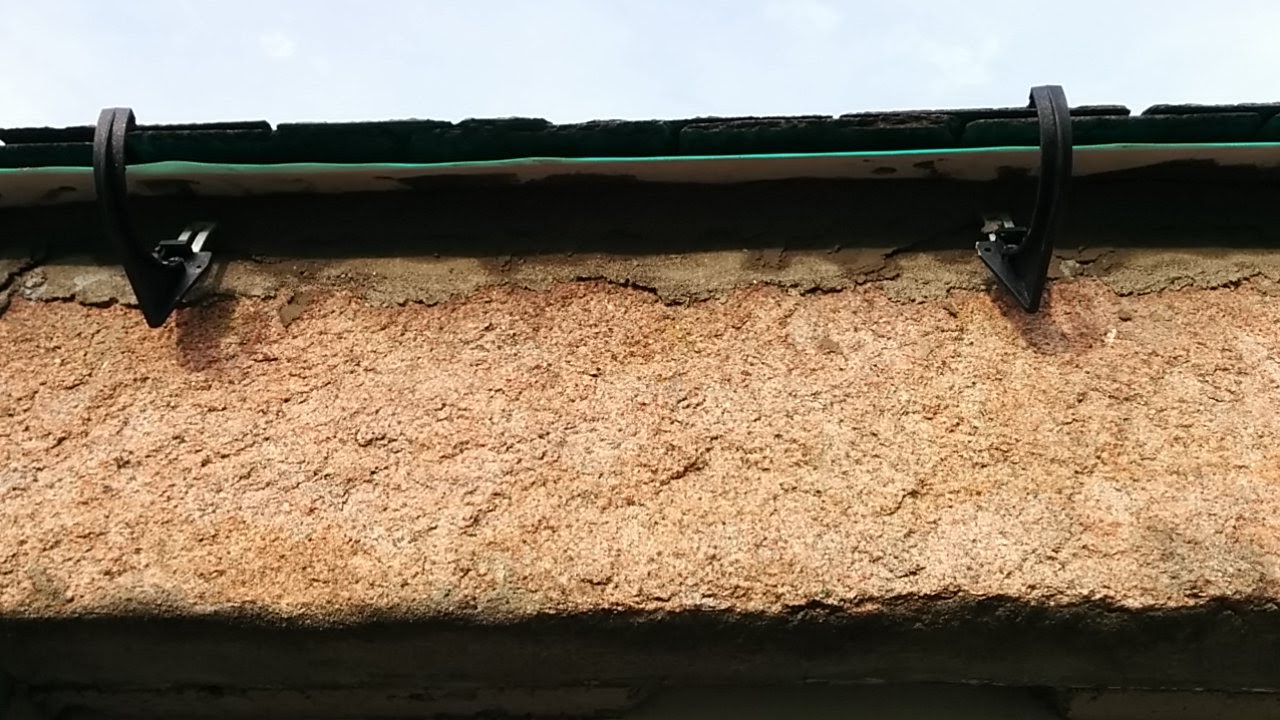
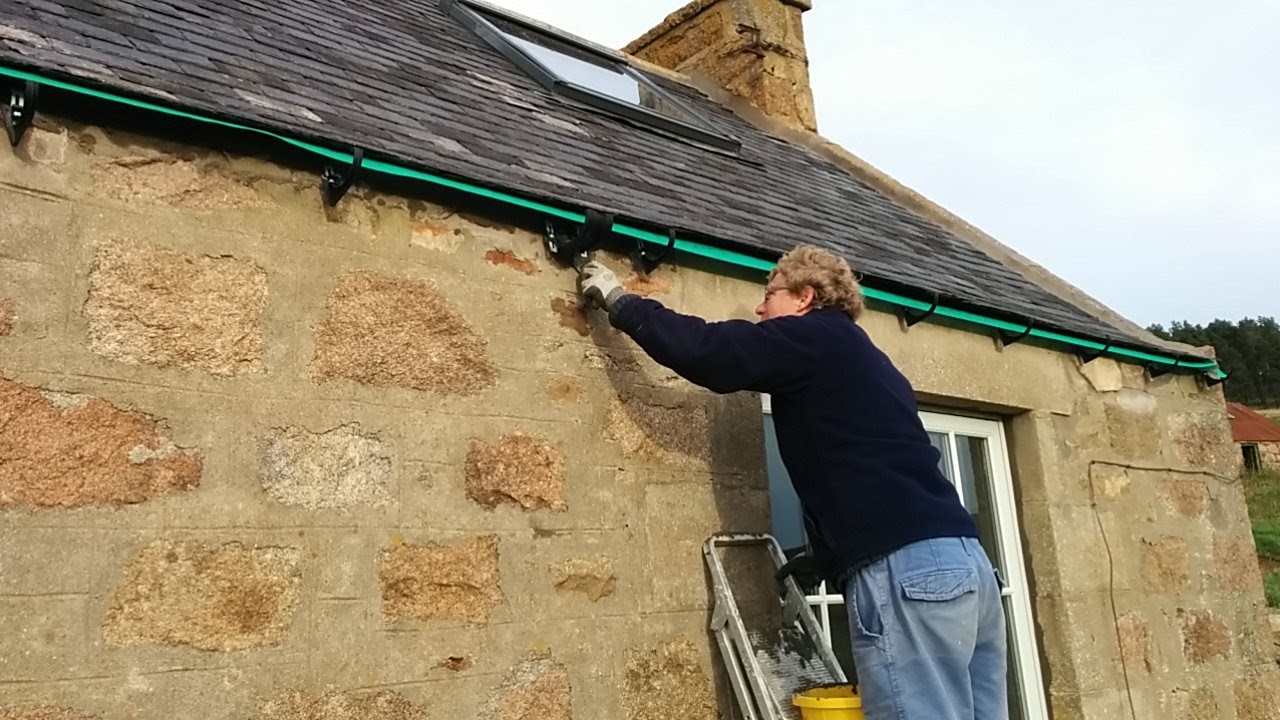
Bumpy & Jaimin spent a freezing cold Saturday mortaring the south face eaves, sealing the gap from the weather. Bumpy did the mortaring while Jaimin mixed mortar in the barrow, and in between mixes, mortared under the window drip sills and around the edges of the windows.
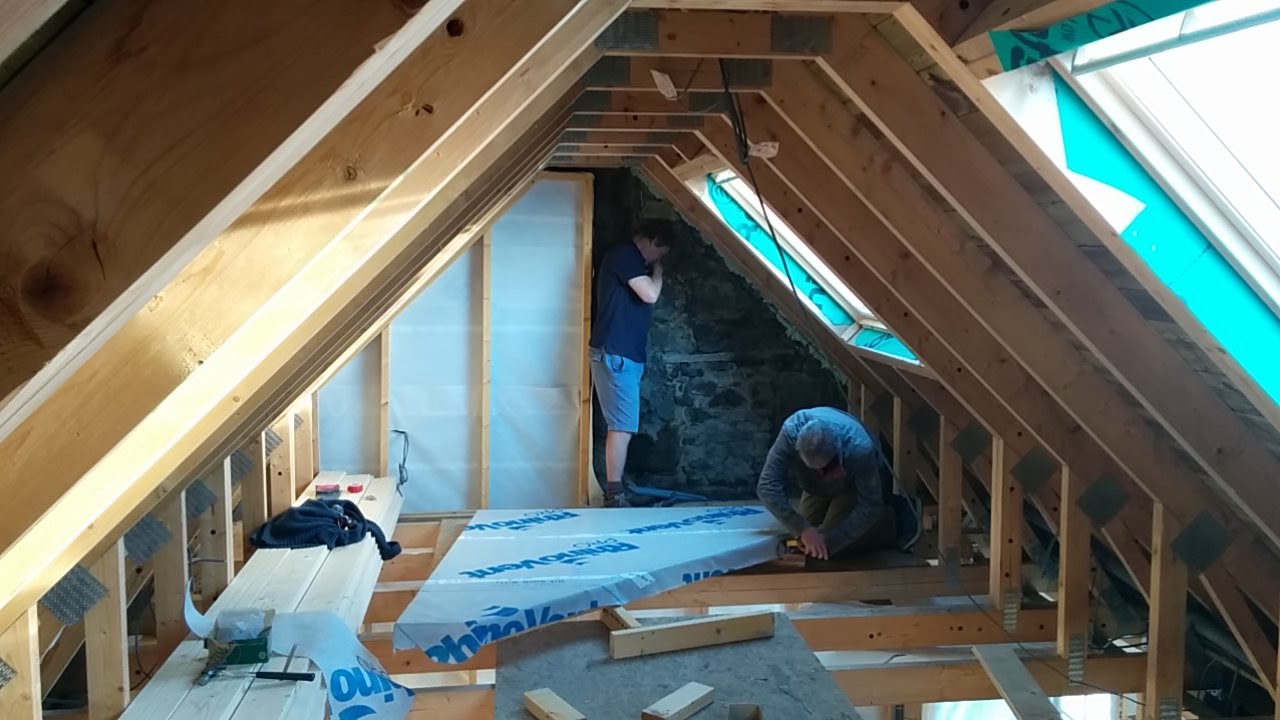
The gable end frames needed to be built, but before fitting them they need to be Tyvek'd ans insulation fitted above them in the rafter space. Because of the tight space they are going in to, they had to be built in 2 halves, which will be fitted and then joined in the middle. Despite some tricky maths, we got their in the end, with Bumpy building the frames and Jaimin fitting the insulation.
Some light mathematics
Frames built & ready
Insulation between the gable and first rafter
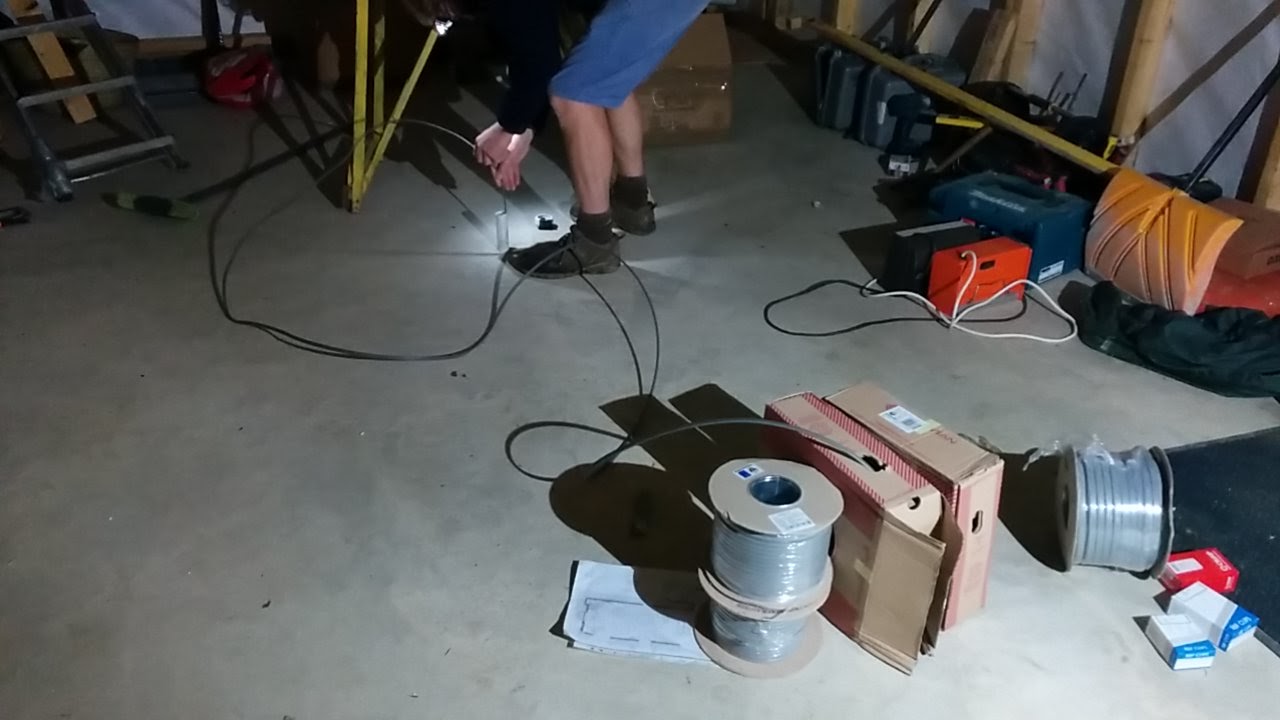
We received wiring cable for the 13A, 5A (lighting) and 30A circuits. and last night we managed to run a "cable tray" of sarking boards in the small triangle space at the edge of the trusses, along which we managed to run the 13A kitchen and 1st floor ring mains.