As the title suggests, lots to bring you up to date on, as it seems this is becoming a monthly update...
The departure of the joiner was followed by a couple of weeks of low action as Jaimin was busy with work.
Excitingly, especially in the middle of winter, the plumbing was brought to a point where the water could be filled in to the thermal store. Here is the overflow tank filling up.
This meant that the fire could finally be lit! And after a bit of air-block sorting, the famous copper towel radiator even started to work. Result!
With a little help from James, Jaimin managed to install the toilet, box it off, and paint the surround. Finn and Jack were particulary pleased.
The arrival of Liz (daycare) and Blair (extra pair of hands with experience) meant that some real progress could be made all over the place. The first thing was the shower. The sequence of photos shows the screeding, laying the tray, building the step, waterproofing with liquid plastic and tape (tanking), tiling, and finally grouting.
While this was ongoing, the upstairs wardrobes were also started. These are a partition between the bedrooms, shelving space for the children, clothes storage for us, and a doorway. They frame and the partition section are complete, but the shelves and doors are still on the list.


Also ongoing was the Great LED Experiment. Due to the lack of head height, and the absolute conviction (from Bumpy) that no lighting should allow the viewing of the point source of light (it's a good point...), we designed the upstairs lighting system with LED strips to be stuck to custom made battens, and covered with coverboards. Mr DeWalt, our new friend on site courtesy of our kind neighbour Pete, enabled us to rip 12mm lining boards in to 12x12mm battens, and also make 45degree mitre cuts along the edges of the 12mm boards to create covers. The battens were fixed at 300mm centers with 30mm crews (pilot holes used, obvs) onto which Everbuild Mammoth Double Sided Tape was fixed (if you ever need really good sticky tape...). The LED strips were then fitted, and the cover boards fixed over the top... The results are really pleasing, but hard to photograph well...


The final thing to update is also lighting related, but is the fabrication of the "pan rack" to go above the island. This was the subject of many design iterations but was agreed to be made as per the photos. Basically, make a ladder, drill some holes, fit some broom handles, and route out a strip all around it in which to stick LED strip lights to light the island...!
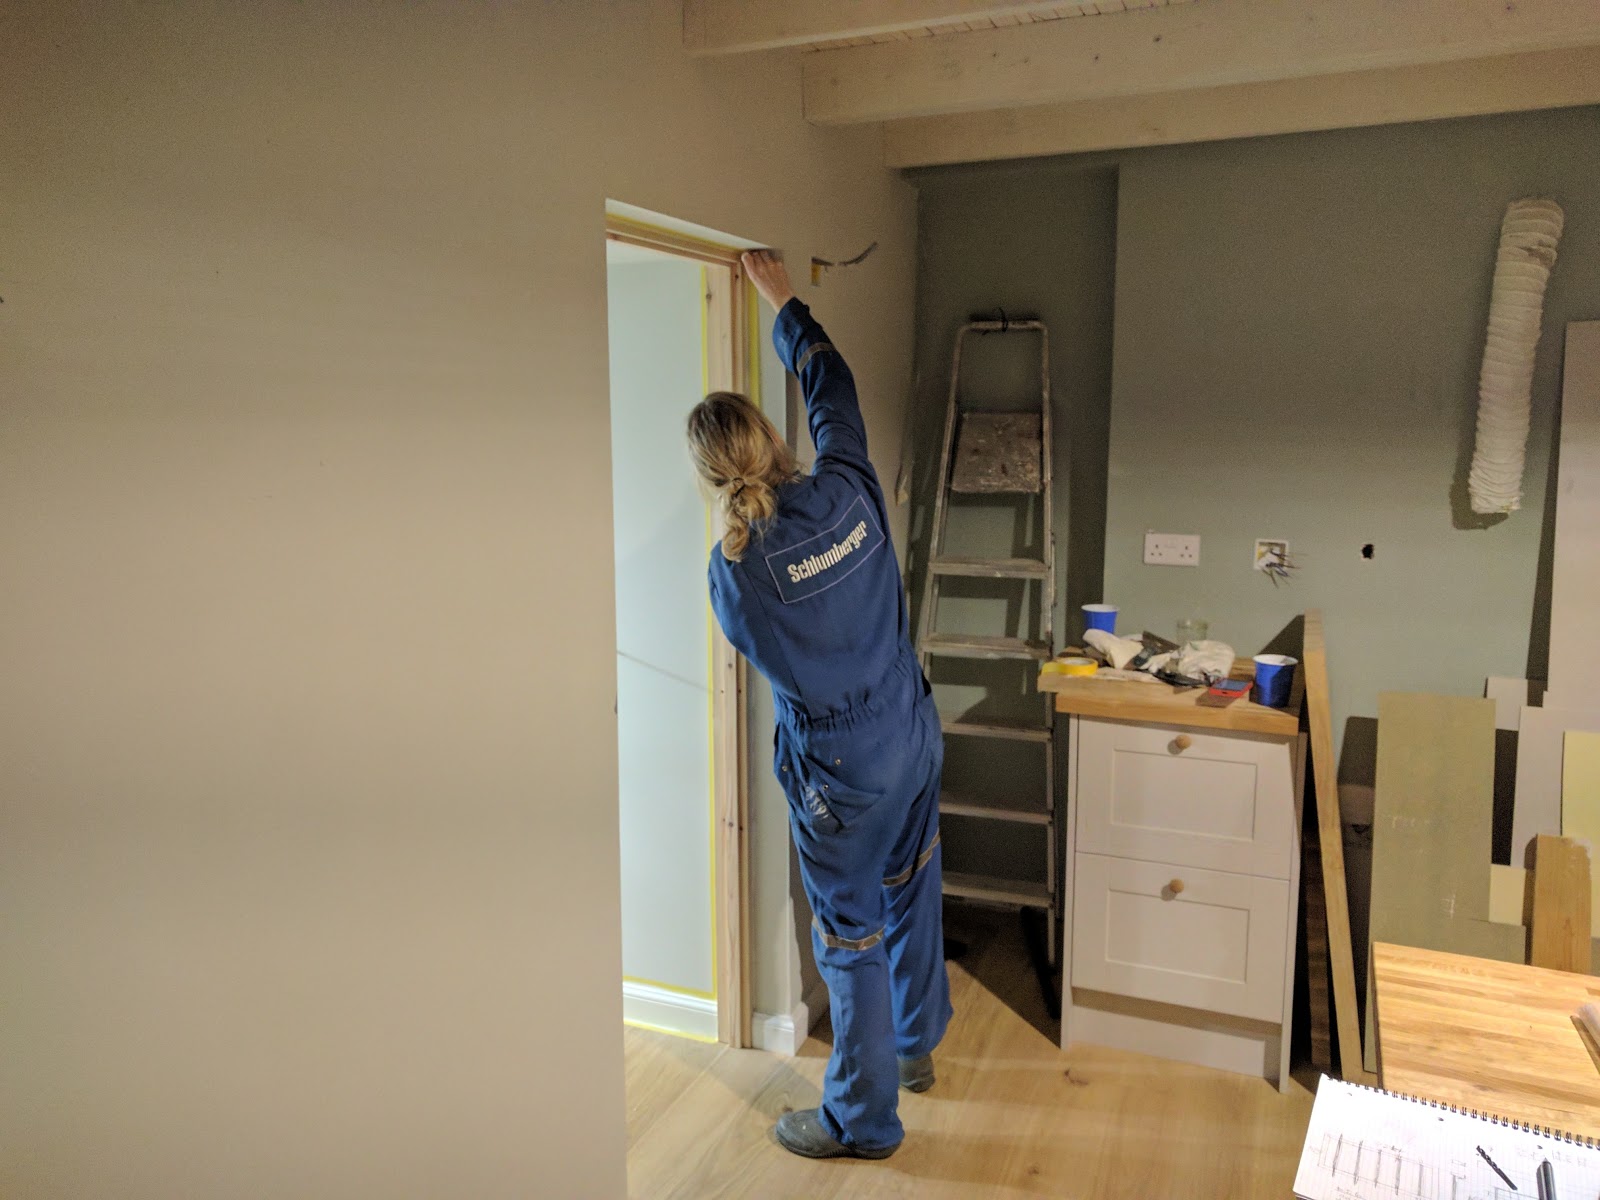
There was also painting going on, as Lucy had time to attend the cottage as opposed to being a carer... Liz took on that role very nicely. Here is proof:
(The electrician has also made a brief appearance but not enough to make anyone excited. Next week there should be more on this, and the landscaping...)